Violet Bag Pattern - Alternate Handle Connectors
Share

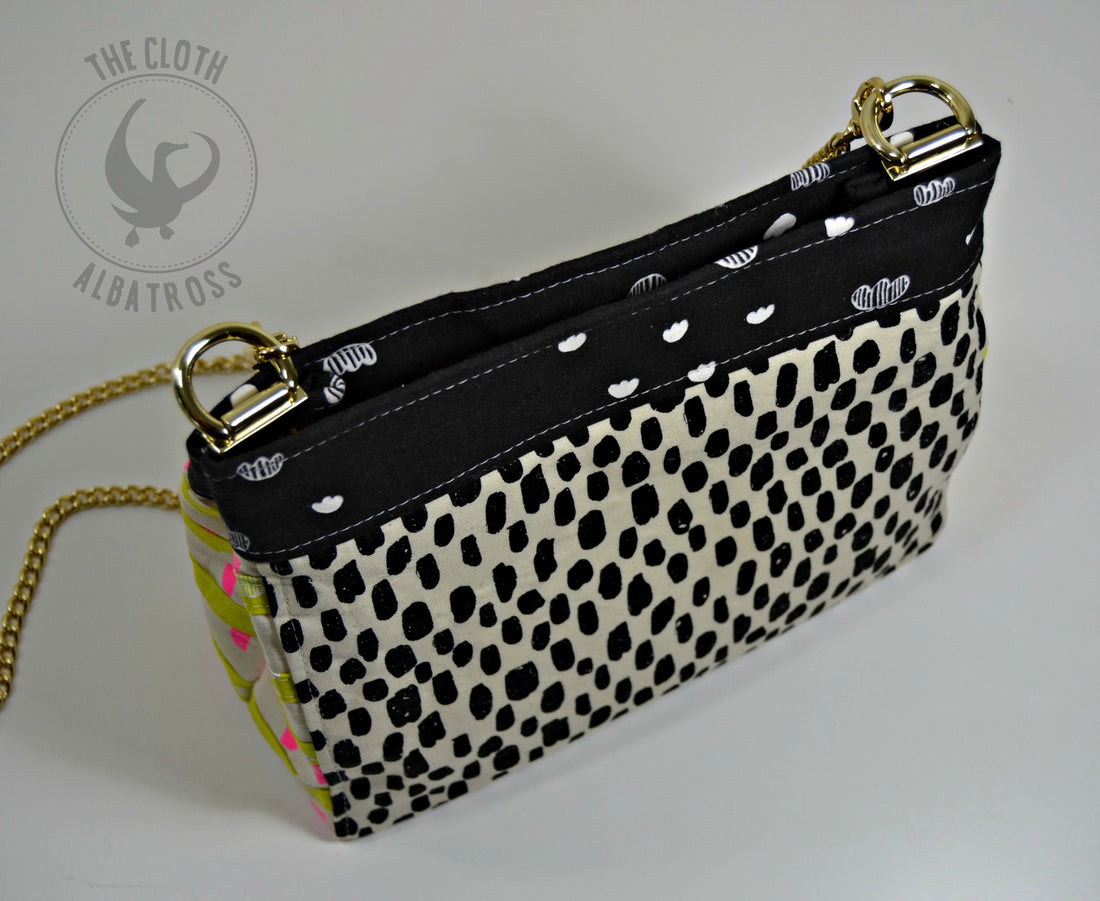
Hi, I'm Crystal of the Cloth Albatross. I wanted to show an alternate method for attaching the strap to my Violet Bag pattern, since some people don't like using rivets. Everything I was coming up with seemed needlessly complex, and then Emmaline Bags got in some new hardware - the Edgwena. And in my head I imagine a guy from Boston saying, 'Hey, nice "Edge Wienahs"!' So anyway these Wenahs are perfect for use as the connectors on the Violet Bag.

The Nosy Pepper has a tutorial for how to install these connectors, but I wanted to do a short tutorial on how to place them on the Violet Bag. The only thing I'll be doing differently on the install of the hardware is to add a bit of glue to the screws. This step is not necessary but I just like knowing that there's the extra hold of the glue.

Since the Edgwena connectors come in a 4-pack, you'll have enough to make (2) Violet Bags with them. Or you can get a Violet Bag kit that will include a chain strap.

And while I'm showing pictures of pretty hardware, here's the pretty fabric that I picked out for this Violet Bag. It's from Cotton + Steel's Print Shop collection.

To make the Violet Bag without rivets, construction will be exactly the same except you will not need the vinyl connectors or the vinyl connector pattern piece.

In addition to the supplies that the pattern calls for, you will need (2) of the Edgwena connectors and some industrial strength glue (e.g., E6000). You will also need (2) scraps of Peltex.
To use the Edgwena connectors rather than rivets, follow the pattern's instructions until you get to page 12. After you've topstitched the top band* of your Violet Bag and closed the slip pocket, it's time to mark placement for the Edgwena straps.
*Tip: Begin and end your topstitching 1" in from either side seam. That way the overlapping beginning and end stitching will be hidden behind the Edgwena hardware.
With your Violet Bag inside out, mark 1/2" in from both edges. The pattern calls for marking placement 3/8" in. The connectors themselves will be 3/8" away from the edge but we're marking the placement of our Peltex scraps right now.
You'll notice that the lining side without the hidden pocket is facing up in my picture. In hindsight, I would have had the hidden pocket side up because that's the side the screws from the hardware will show against. It's not a huge deal since they're inside the lining of the bag, but if you would like your screws facing the back, have your hidden pocket facing up when you install the hardware.

Take your Peltex scraps and cut them 7/8" W x 1/2" H.

Place a small dot of fabric glue on one side of each piece of Peltex. Even if your Peltex is fusible, glue it into place because it has more hold than the Peltex. We're going to have to push our connectors down over the Peltex and simply fusing them would likely just push the Peltex down the band. Place the long edge of the Peltex even with the top edge of your band and the short edge lined up against the 1/2" mark that you drew.

After you've placed your Peltex, use a hot, dry iron to set the glue.
Now it's time to bust out our hardware. We're going to be aligning the screw hole to the edge of our half inch mark (see pic). We're not aligning the hardware edge to that line because that's where our Peltex begins and we want the Peltex to be ~1/8" in from the edge of the hardware.

After you've shoved both sides of the top band and your Peltex into the connector, we need to poke some holes. I used my seam ripper tip and twisted it around in each hole.

Now we need to put a bit of glue on the ends of our tiny screws. I like to do this to make sure the glue secures the punctured fabric and ensures that the screws don't twist out. This can get messy. I buy the tiny tubes of E6000 so that I don't have to worry about ruining a big tube by getting a hole in it or forgetting to put the cap back on. To put glue on the tiny screws, I take a fabric scrap and squirt a blob of E6000 on it and quickly put the cap back on because that stuff loves to ooze out everywhere. Then I dunk the tip (just the tip) of a screw into the glue and quickly screw it into the tiny hole. Make sure you really screw it in there until it's flush with the top of the connector. Repeat for the other 3 screws. Depending on how fast you screw, you might have to squirt out another glob of E6000 because it sets up rather quickly.


After your screws are in, you're all done! Turn your bag right side out and give it a good press.

SaveSaveSave

1 comment
Great tutorial, and now I am always going to think “Edge Wienah!!”
Thanks Crysta & Celinel!! Janelle