
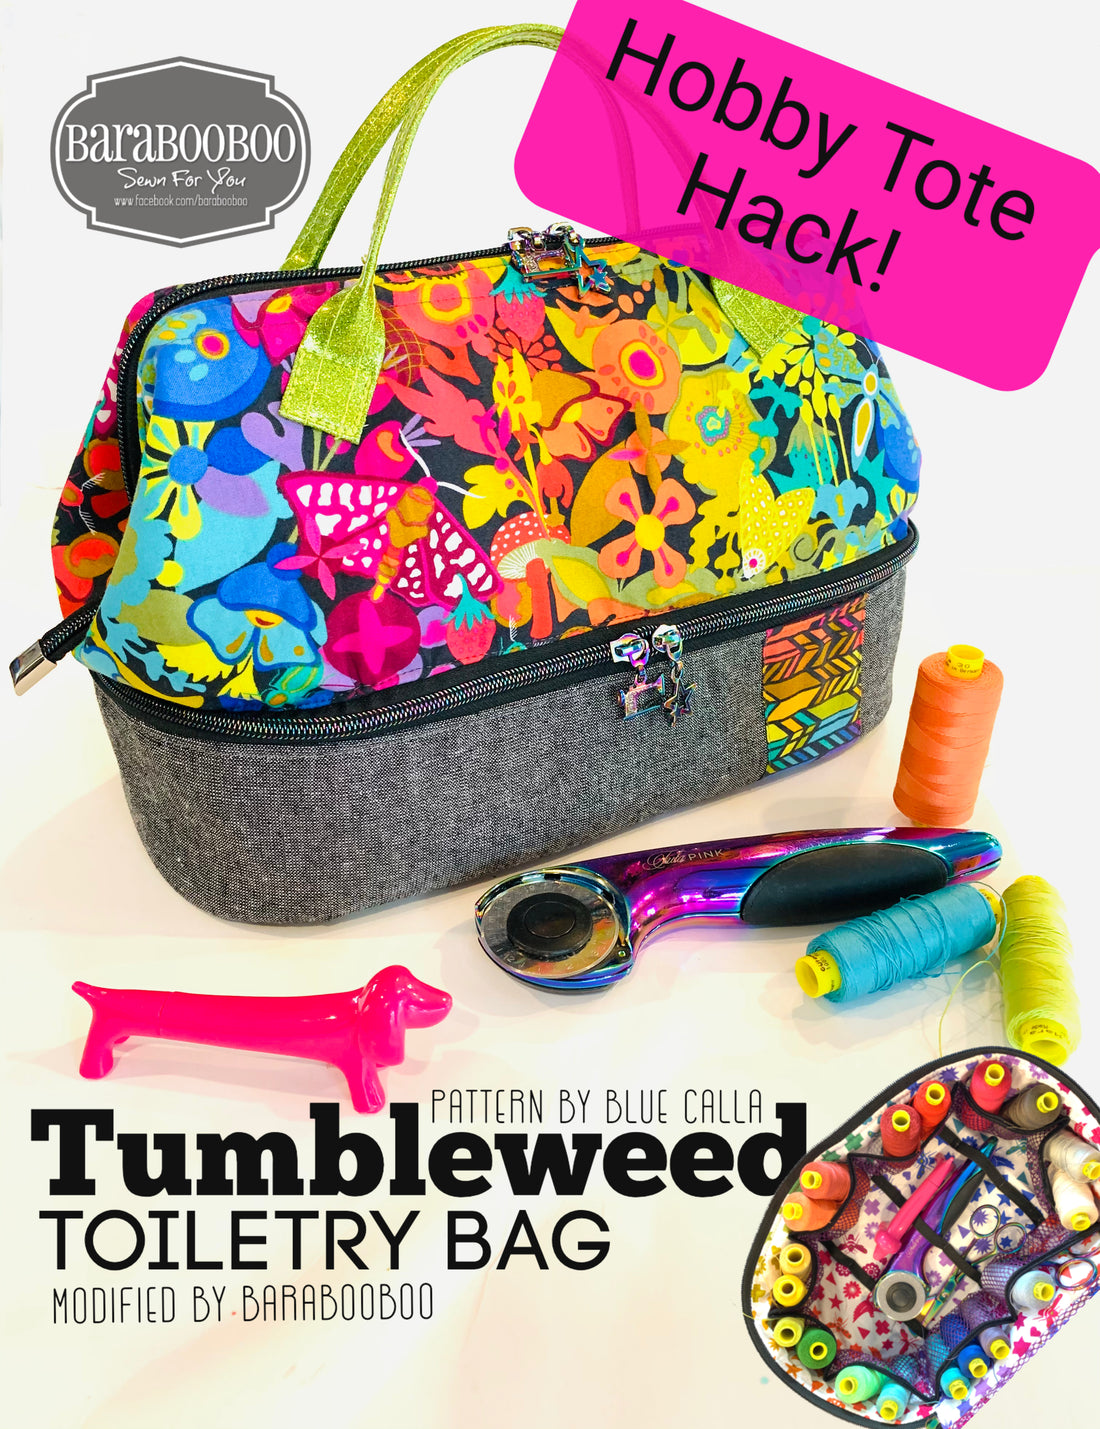
Hacking Tumbleweed to Make a Hobby Tote
Hi Bagmakers!
This is Michelle of Barabooboo writing here. I’ve tested the Tumbleweed Toiletry bag pattern several times now in preparation for it’s release on March 1st in the Bag of the Month Club. It occurred to me what a useful tote it would be for transporting my supplies around. I’ve decided to share how I’ve done it in this tutorial so you can do it too!


This hack really comes down to modifying a few bag components with pockets and elastic. I’ll show you what I did, so you can do the same or maybe even be inspired to customize it further to meet your specific needs.
First, you’ll need to purchase your Tumbleweed Toiletry Tote Pattern. Before June 1st 2020, it’s a pattern available only in the Bag of the Month Club subscription, but as of June 1st you can buy it from Blue Calla Patterns.
Materials required to modify the bag:
✔️Mesh fabric (I used By Annie’s Mesh)
1 piece 35” x 3”
1 piece 11” x 3”
✔️Transparent vinyl (I used 12 gauge)
2 pieces 11.5” x 3.25” each
✔️Elastic (I used Fold Over Elastic, but flat elastic works too. I always use what I have already on hand. My Foldover was very thin so next time I would choose a wider one that finishes at 1/2” or 3/8” after folded in half. For flat elastic I would recommend 3/8” or 1/2”)
1 piece 27.75” (Flat or FOE)
1 piece 8.75” (Flat or FOE)
3 pieces 7.25” long (I used flat elastic here)
✔️Firm Interfacing:
Cut one rectangle in addition to what the pattern already calls for that is 5.75”x7”long
✔️Strips of fabric for the vinyl pocket binding:
2 pieces that are 12” x 2” each
***Make one change to pattern step #3, INSTEAD of fusing the Train Case Back Panel Firm Interfacing piece to the foam, glue it onto the Train Case Back Panel lining fabric piece on top of the woven interfacing, still make sure it’s centred on the fabric piece. All other fusing instructions are exactly as pattern states. 
Basically, you’ll be adding some pockets to these lining fabric components, so get these ones out after you’ve fused the interfacing on:
Train Case Back Panel lining
Train Case Gusset lining
Zipper Compartment Lining pieces (x2)
Train Case Bottom lining (the one without fleece)
Let’s Get Started
1: Making the Transparent Pockets for the Zipper Compartment
You’ll need to fold your 2 binding pieces up as instructed in step #18, but first press in 1/4” on each strip end so there are no raw edges showing (also DO NOT cut your binding strips in half after pressing as stated in step 18 since you’ve already cut the 2 strips)


Next, you’ll need to slip the long edge of your transparent vinyl piece into the binding and clip it in place, while making sure that the vinyl is inserted all the way into the centre fold. Top stitch the bottom
edge of the binding and then top stitch the top edge. Using a walking foot here will produce an even, flat binding application. Repeat this for the second vinyl pocket piece.


Next, mark the bottom edge (edge without the binding) at the CENTRE of your vinyl pockets, as well as mark the centre bottom edge of your Zipper Compartment Lining pieces. Place one vinyl pocket on top of a Zipper Compatible lining piece matching the centre marks and lined up evenly across the bottom. Using a Teflon foot (or strips of tissue under your regular foot on top of the vinyl) stitch the pocket to the lining across the bottom and up each side. I also divide my pocket into 2 by stitching straight up the centre from the bottom edge to the top of the binding and back down again, beside the first line of stitches. Repeat for second pocket and lining piece. These are done and may be set aside for use in constructing the rest of the bag.


2: Adding Elastic to Train Case Bottom Lining
Take your Train Case Bottom Lining piece WITHOUT the fleece and be sure you’ve added 4 marks on it (2 centred on the long sides and 2 centred on rounded ends of oval as in step #7 of the pattern). Next, glue the Firm Interfacing rectangle you’ve cut from the materials list at the beginning of this tutorial, onto the Wrong Side of the Train Case Bottom Lining piece. Make sure there is a 5/8” space between the Firm Interfacing and the long straight sides of Bottom Panel Lining piece. (This firm interfacing will prevent the bottom fabric from crumpling under the stress of elastic holding items during use).

Clip your 3 flat elastic pieces onto the Bottom Panel Lining piece on the Right Side. I place 1 at the centre and then the others equally spaced on either side. Mine are just under 3” apart but you can place them closer or further depending on the things you will be using them for. Make sure you’ve placed the elastic within the rectangle firm interfacing area though. Clip them in place.


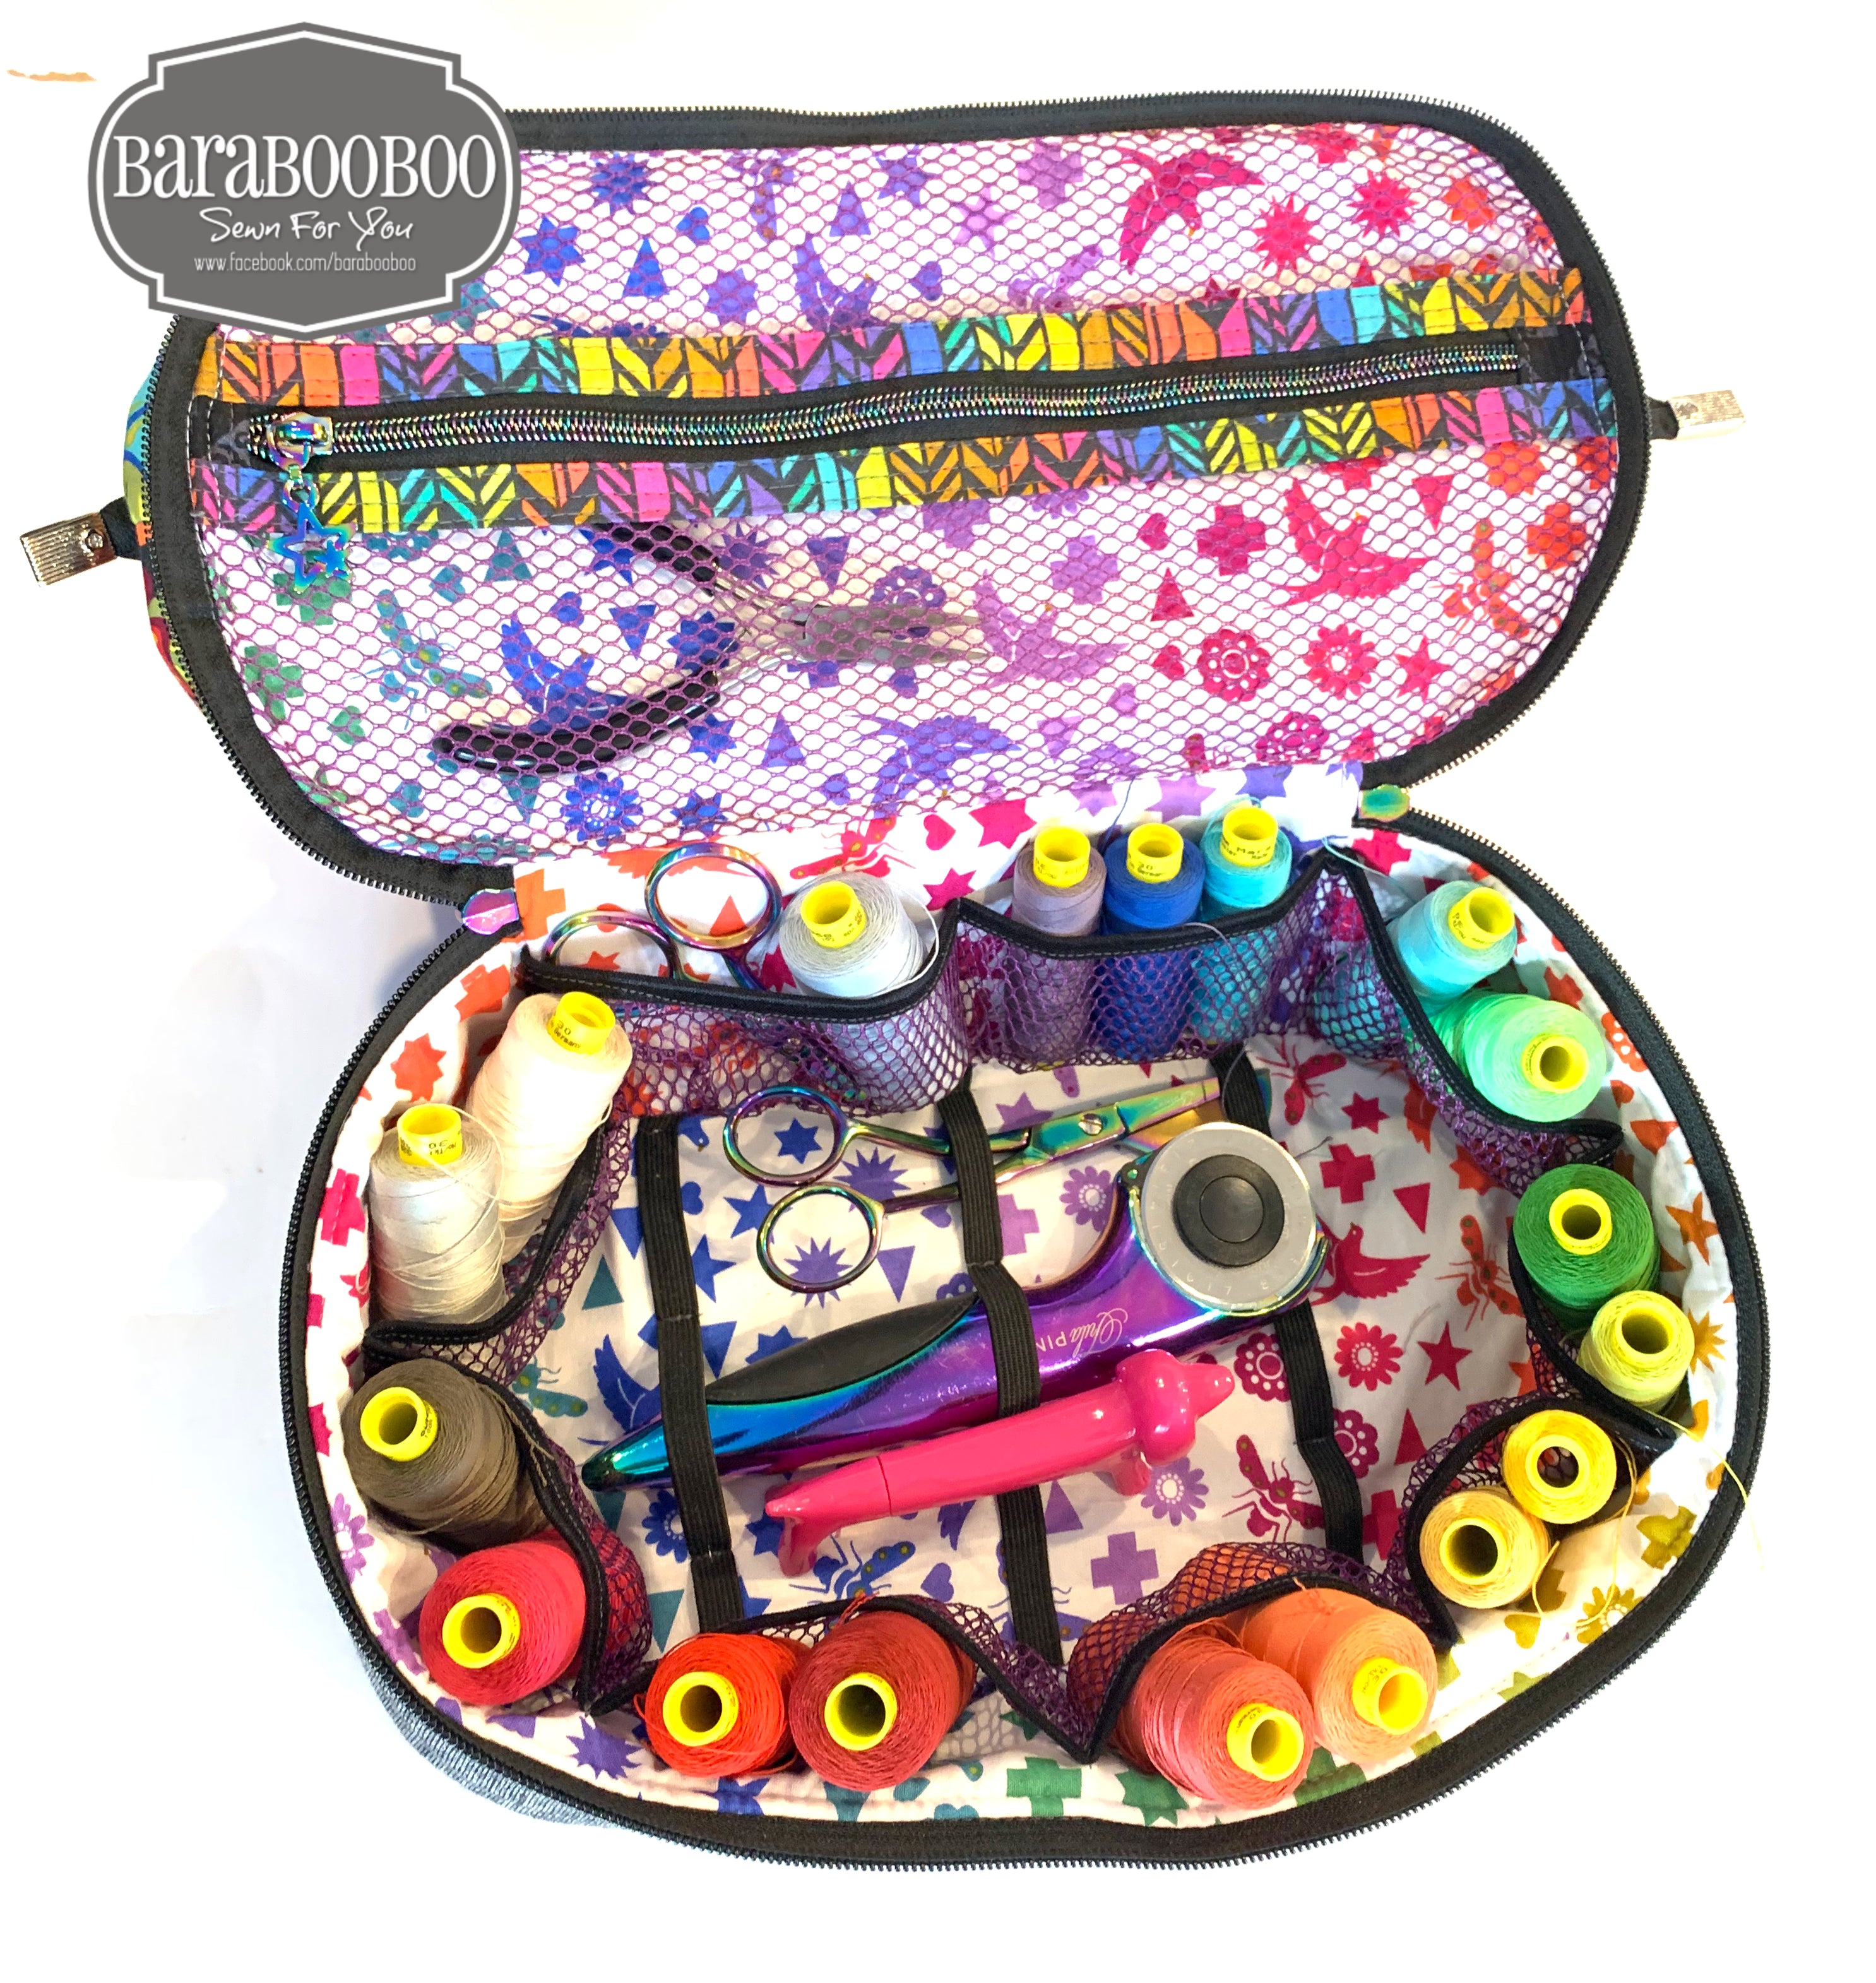
Baste stitch the 6 elastic ends onto the bottom lining piece at 1/8” seam allowance, just so you can remove the clips as they get in the way. Next I, sew across each elastic at 5/8” in from each side to fix it to the lining and the very edge of the firm interfacing underneath. I add a few more divisions of stitching making flat loops of elastic across each elastic strip. I divide each elastic strip on mine into 3 sections but do what works for your items. Maybe you only need 2 sections? Here’s what mine looks like when I flip it over to the wrong side.

Set this piece aside now, for use later in constructing your bag.
3: Make the Mesh Pockets on the Train Case
Mark your 27.75” piece of elastic at the quarter marks. (Divide it in half, mark that point with a pin, then each half should be folded in half again to mark those centre points with pins). Do the same quarter marks on the Long (35”) mesh piece on one long side only, I use clips on the mesh since it’s annoying to pin.
Next, clip the ends of the elastic to each end of the mesh, the mesh will be longer. Then match up all the quarter marks, and clip them together at each mark. The mesh will be all ruffled and that’s fine. Set one end of the elastic/ mesh under your machine foot and stretch the elastic as you sew to match the length of the mesh, by holding it tight at the quarter marks that are clipped. If you have a zig zag machine use a stretch stitch, I only have a straight stitch machine so that’s what I used. *For Fold Over elastic you’ll be inserting the mesh into the fold of the elastic like binding. *If you’re using Flat elastic for this, sew the elastic on top of the edge of the mesh. With the flat elastic you may want to do 2 rows of stitching with each one down each long edge of the elastic.


Next step:
Make quarter marks with clips on the raw edge of the mesh/elastic piece you’ve just finished making.

Also, make quarter marks on the long Train Case Gusset lining piece along the bottom edge.
Now match up the mesh ends with the ends of Train Case Gusset lining piece and clip, and then match the quarter marks along the bottom edges of the mesh and the gusset piece. Clip them together at these spots. I set the end of one bottom edge of the mesh/lining sandwich under the machine foot. Next thing I do is make teeny tiny little tucks/gathers/pleats as I sew the bottom of the mesh to the lining, and making sure to take up all of the excess mesh as you sew along to each clipped quarter mark. The quarter marks allow you to evenly distribute the gathers along the bottom edge of the mesh but the tucks are still random. Sew the short ends of the mesh to the short ends of the Train Case Gusset lining piece.
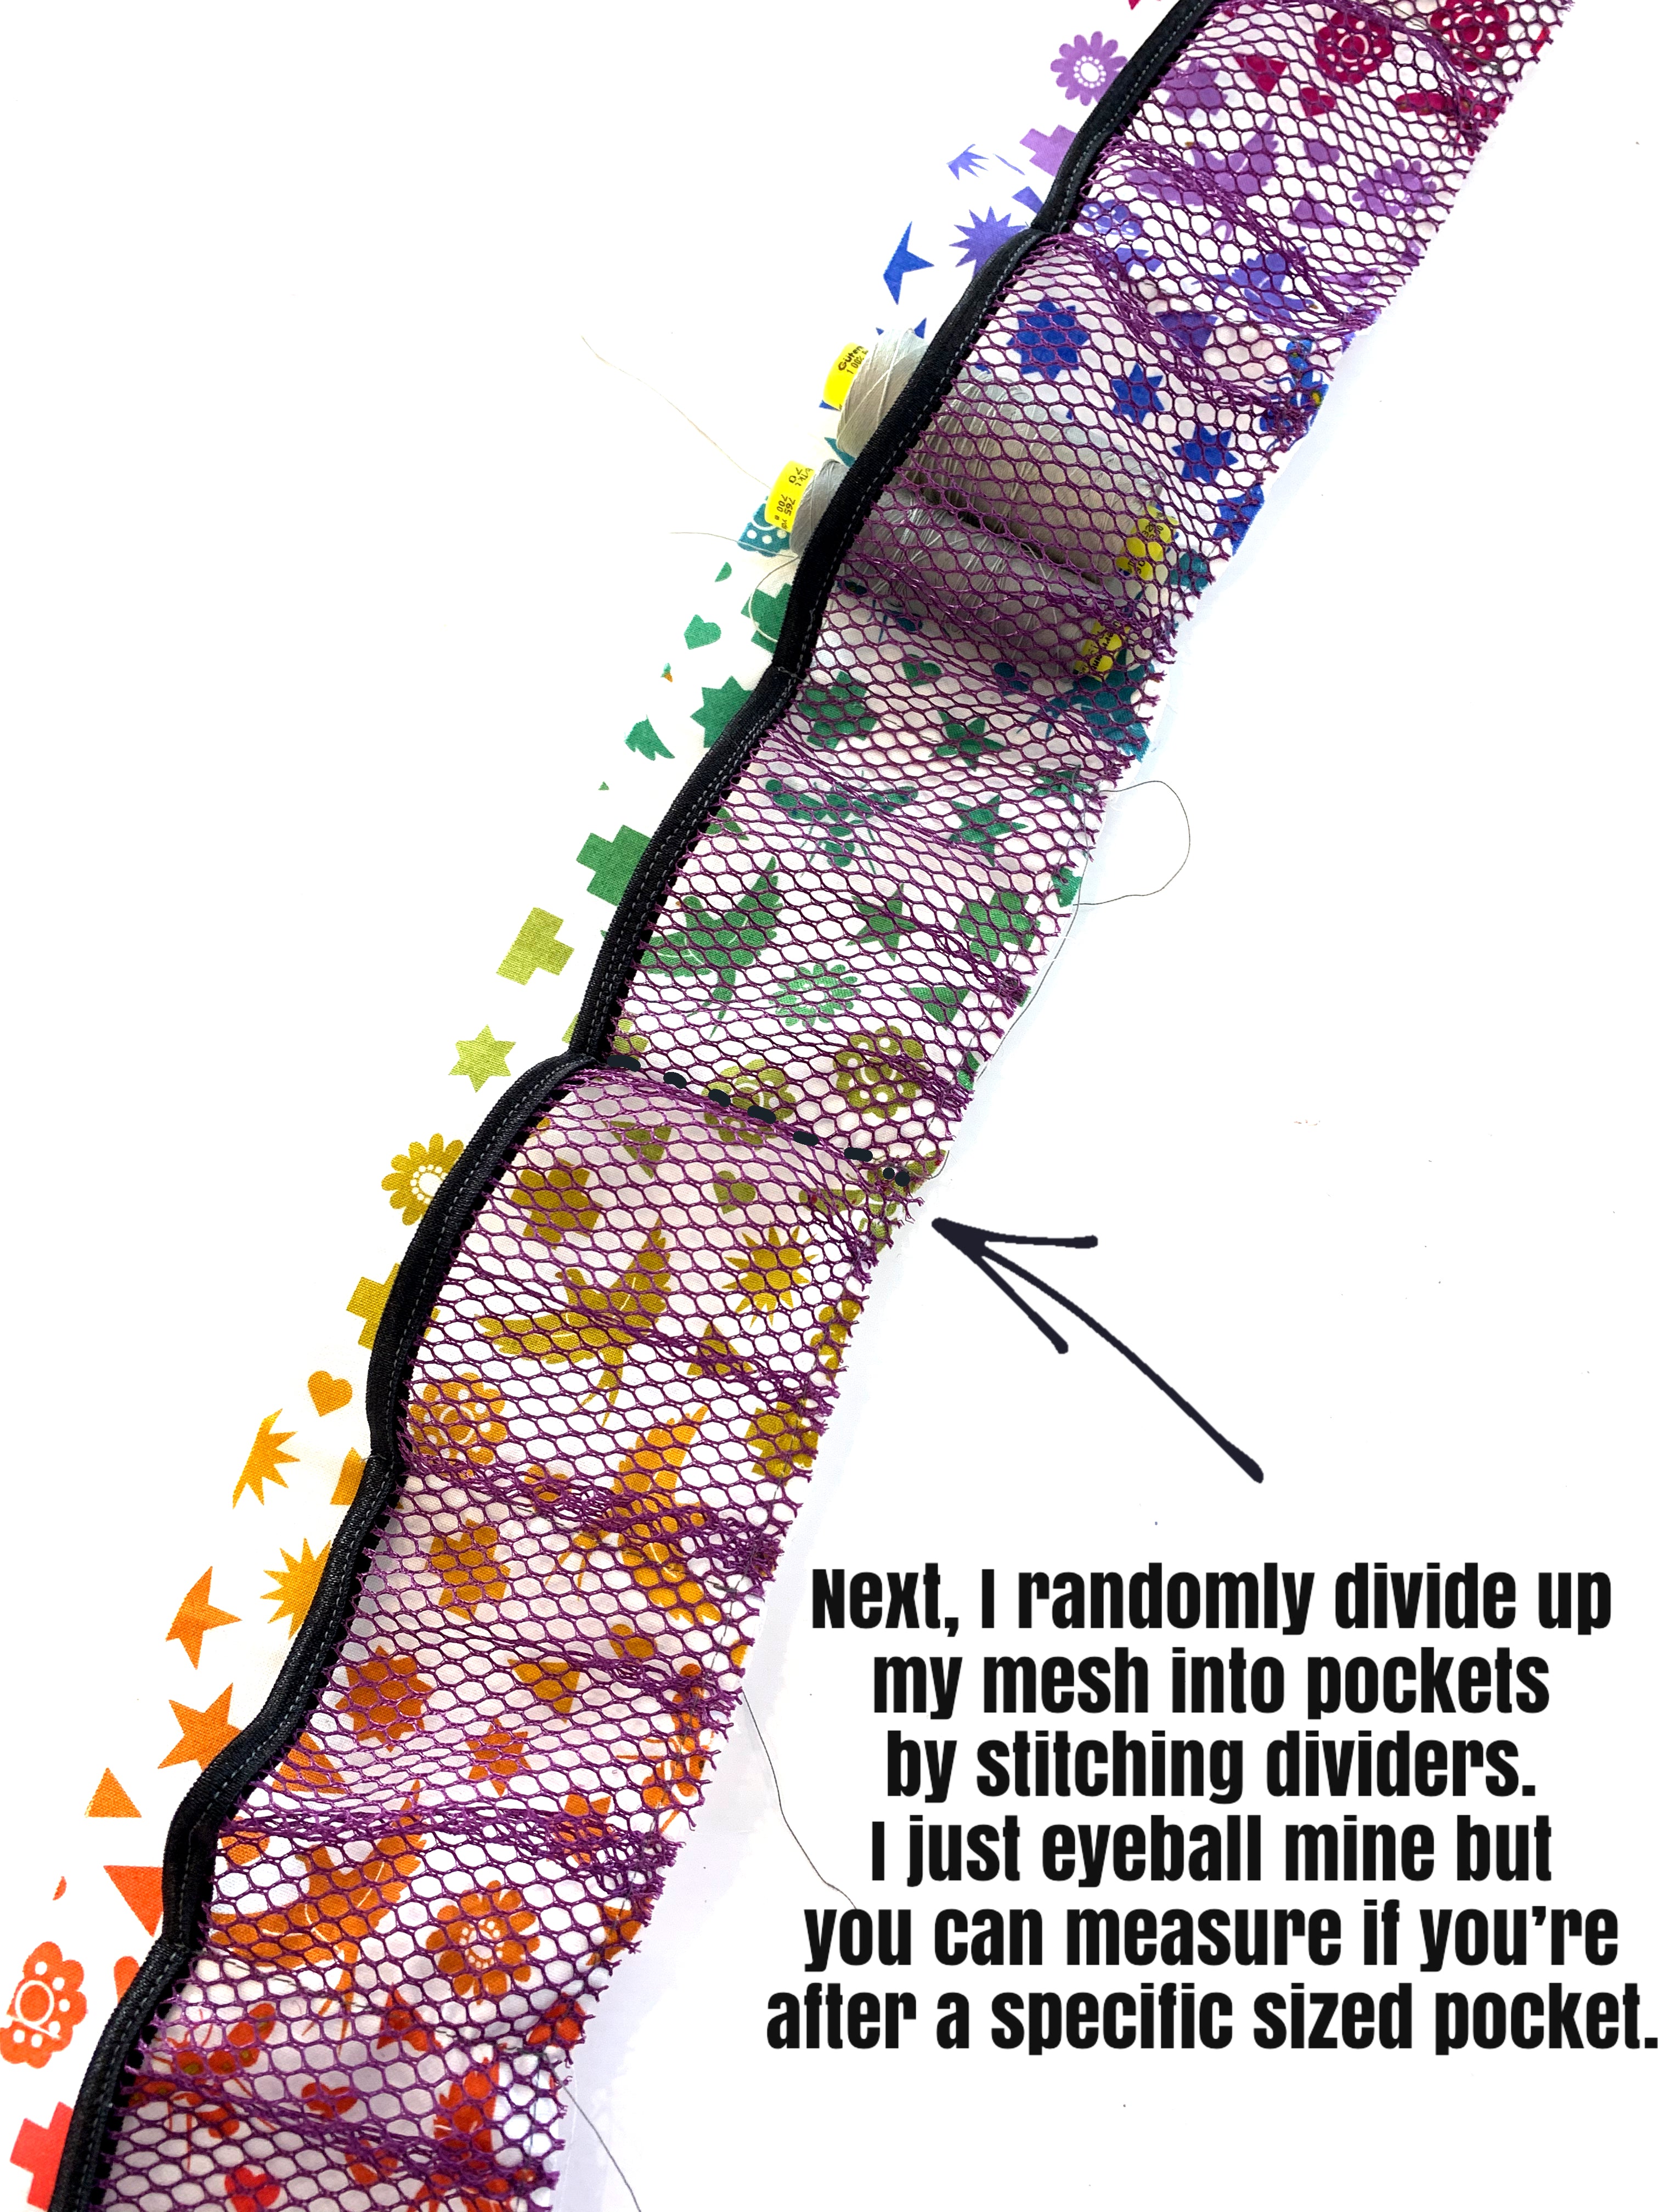
Divide up your mesh pocket piece with stitch lines going straight up from the bottom of the gathered mesh edge to the the elastic top of the mesh and back down to sew it down to the Gusset Lining Piece. I do this pocket spacing randomly somewhere between 2”-3” each but again, customize it for your own needs. I auditioned 2 thread spools and took note of the size of pocket I needed to create. After you’ve done this you can set this aside for use in the construction of this bag.


Take your smaller mesh piece and smaller elastic piece and sew the elastic to it in the same way as the long mesh piece was done except you’ll only need to add centre marks since it’s not very long. (Quarter marks aren’t necessary). Then do the same centre marks on the Train Case Back Lining panel (with the firm interfacing on the back) and the bottom edge of the mesh/elastic piece. Add the mesh pocket to the lining piece in the same method you did on the long one. I divided mine into 2 equal pockets by stitching up centre. Set this piece aside in anticipation of constructing your bag.

You can now make your bag following the pattern instructions and using your modified pieces......
..... But please take note of the following:
✔️Be aware of the top edge and bottom edge of the Train Case Gusset Lining piece and Back Panel Piece during bag construction so you won’t end up with your mesh pockets upside down. Here you’ll see the relation of the train case zipper to the orientation of the mesh pocket on the Train Case Gusset lining.

✔️Later in one of the final steps when you are attaching the handles to the Zipper Compartment, make yourself aware that you need to avoid stitching though the interior vinyl pockets when you attach the handles. The interior pocket should be just under that handle placement BUT if you’re off even just 1/4” in your bag construction this can change. If it appears as though the pocket overlaps the handle, then simply move, squish, clip your vinyl pocket out of the way as you stitch on the handle.
Post your final products to the Blue Calla Facebook group and/or tag Blue Calla Patterns on Instagram @bluecallapatterns.
Enjoy!!
Michelle
Barabooboo