
Mimosa's Crafty Makeover

Hi everyone! I'm Wendy of WD Handbags and today I’m going to show you how to take the Mimosa Tote bag to the next crafty level by making it into a custom crochet/knitting project bag. What if you don’t knit or crochet? Well, it would be super simple to take some of these ideas and turn the bag into a bag for all crafty occasions, whether you embroider, are into hexies or English paper piecing I’m sure there’s something here for you!

So what are we going to do? We’re going to add a place for your hooks and scissors; we’ll add a clear vinyl pocket for all those little things that like to disappear at the bottom of your bag like your measuring tape, buttons for your current project, etc. We’ll also be adding grommets to the bag for feeding the yarn through making it easier to pull your yarn while crafting on the go. And lastly, we’ll add a clip to the bag so you can make a clutch to have on the go so your bag isn’t only a project bag but your purse too!

To start cut out all the pieces per pattern instructions, additionally you’ll need to cut the following:
- (2) E pieces interfaced with woven interfacing
- (1) piece of clear vinyl measuring 5.5” x 10”
- Binding for clear vinyl 2” x 10”
- Fabric for clutch clip measuring 2” x 10” (my clip had a small opening of ½” hence the 2”, use your measurement and multiply by 4 to get the width you need)
- You will also require a clip and small d-ring, and 2 grommets (or more if you prefer)
Now that you have that, are you ready? Let’s go!
Begin assembling the bag per instructions, we’re going to start our modifications on page 8, before completing step 2 – we’re making the slots for our hooks - fold both of the additional E pieces in half, you can top stitch along the folded edge if you like but it isn’t necessary.
Next we’re going to make measurement marks... these are a guideline only, depending on your hooks you may need to adjust, generally speaking for small hooks your measurements should be ¾” apart, medium 1”, and large 1 ¼”.
My markings from left to right are as follows: 3.5”, 1” x 7 slots, you will be left with a ½” space for seam allowance. In the second image my measurements are: ½”, 1 ¼” x 5 slots, and ¾” x 5 slots, again leaving a ½” space for seam allowance on the end. Complete pocket assembly per pattern instructions.

Follow pattern directions to page 12, just after attaching the straps we’re going to assemble the strap for the clip, take your piece of fabric that measures 2”x 10”, fold in half and press, fold raw edges to centre and press again; top stitch the open edge at 1/8” seam allowance. Slip your clip on to your completed piece and fold in half. I added mine on the end of my bag so the clutch can be pushed out of the way inside if necessary, feel free to place clip wherever feels comfortable to you. Baste the clip strap piece in place like you did your straps.

Now before we move on to the interior assembly we’re going to make the vinyl slip pocket. Take the binding piece of fabric, fold in half and press, folding raw edges to centre and press again; clip to the long edge of your vinyl piece and top stitch 1/8”. Clip vinyl piece to one of your pocket pieces. I wanted to divide my pocket into 2 so on the fabric piece I marked 5” in from the side and 5 ½” up and made a line. I used a Frixion pen so I could iron the wrong side and have the pen disappear but not mark or melt my vinyl... Use your best judgement on where you want to mark.

Complete bag per rest of the pattern instructions, then we’ll attach the grommets! Where to attach the grommets is like the clip for the detachable clutch, it’s personal preference really. I added mine to the back of the bag below straps. The centre of the blue circle measures 1” down from the top of the bag and ¾” on each side (as an extra precaution I pinned above and below my marks so when I cut the circles I knew my lining wouldn’t shift on me). Cut out the holes, feed your grommets through the holes and hammer in place per manufacturer instructions.
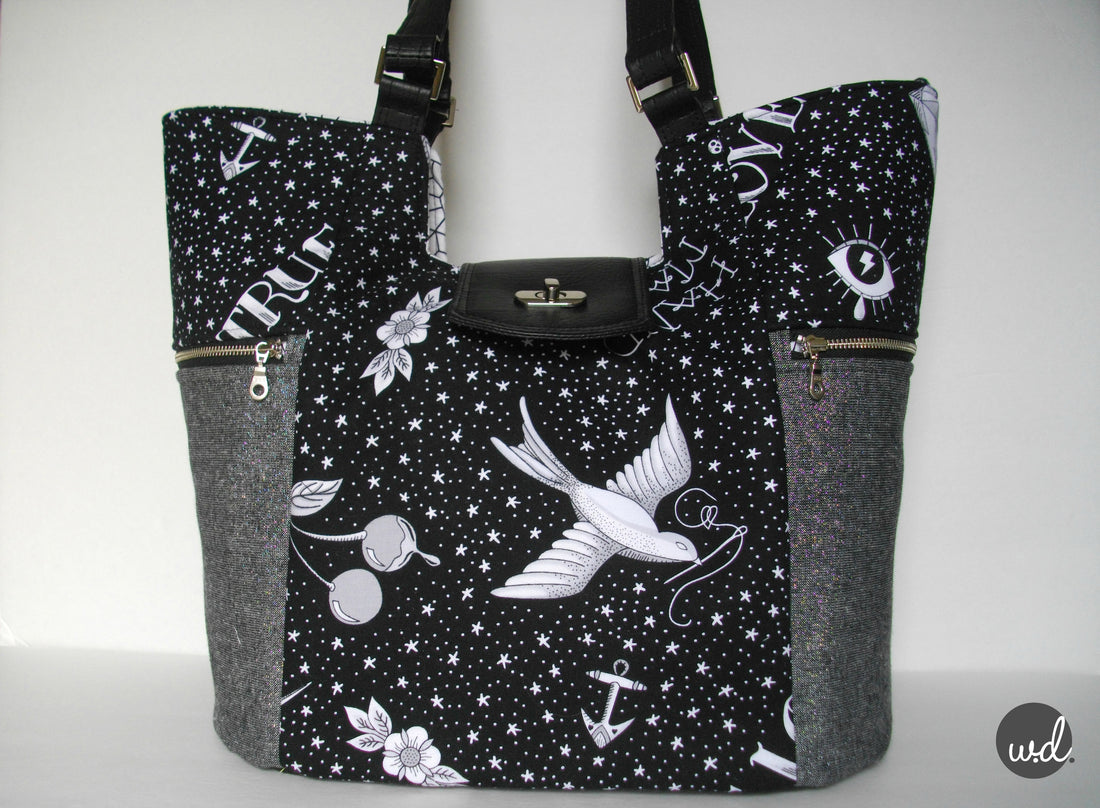
Voila! Your Crafty Mimosa bag is ready! Go ahead and fill it up with all your yarny goodness, paraphernalia and projects, then enjoy creating on the go!
You can also refer to the FREE Clematis pattern available in the shop to make your matching on the go clutch.


1 comment
Oh, Hi Wendy! Glad to read you here! I’m afraid this bag will become an essential for me as I’m rather a not very organized knitter and crocheter and recently I tackled English paper piecing which I love. Spring is a good time to get organized, isn’t? I really like this bag…now I have to find more hours in a day…I will check on Amazon…they have about everything :-)