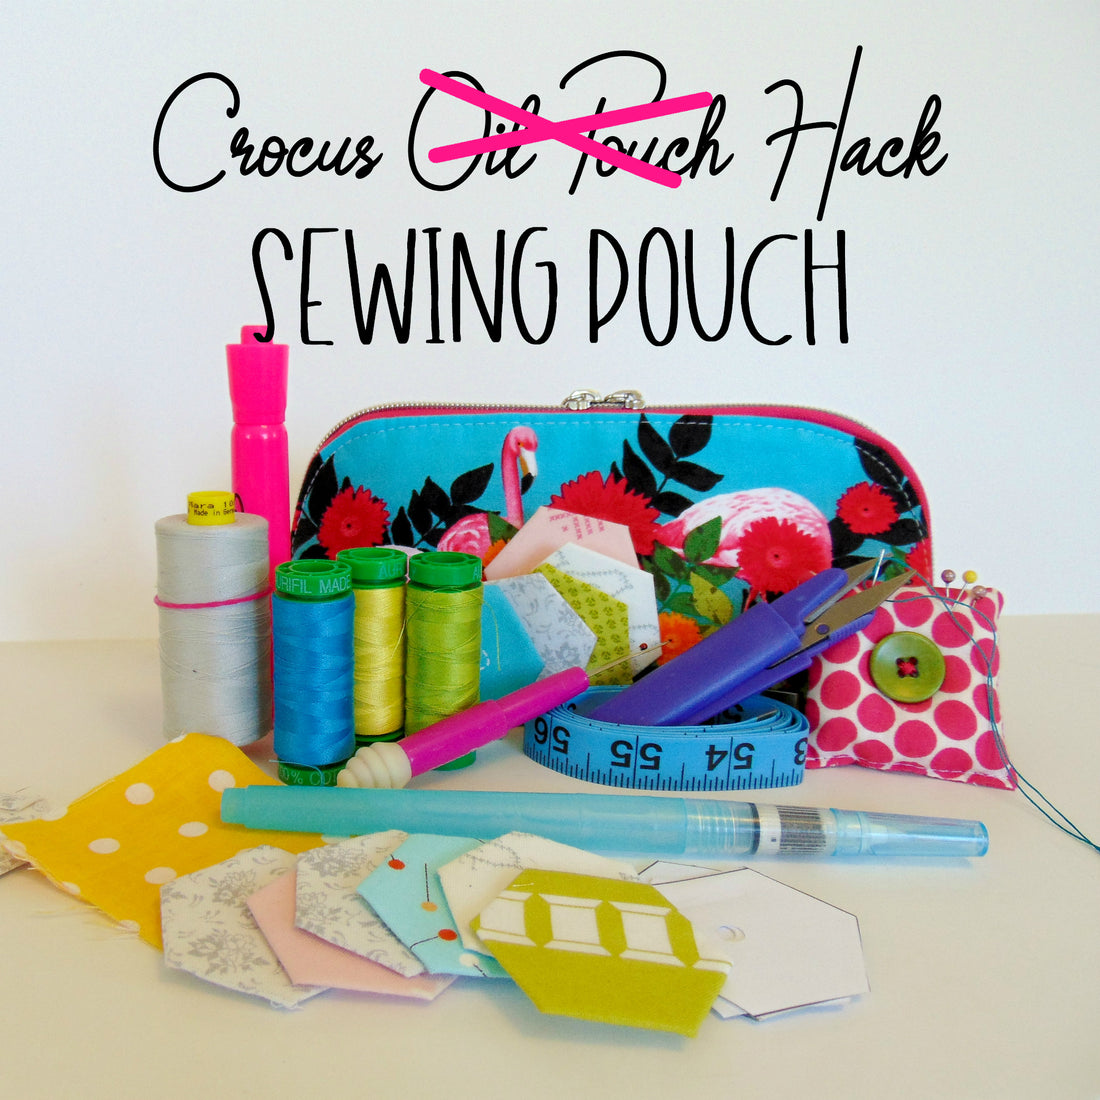
Learn how to turn the Crocus Oil Pouch into a Sewing Kit!
Share

Hi everyone! It's Wendy from WD Handbags and I'm here to show you how to hack the Crocus Oil Pouch into an adorable portable sewing kit!
Ready to go? Okay, let's get started!
First off we're going to cut out all our pieces per the pattern instructions, this includes fabrics, and interfacings. I'd suggest not cutting your elastic pieces yet because you may not need it quite as long as stated in the pattern materials.
Also cut:
(2) 3" x 3" cotton fabric for the pin cushion
(2) 1 1/4" x 10 1/2" cotton fabric for the binding
*** Speaking of materials, I like to use "Fold Over Elastic" for my Crocus pouches (FOE), it's nice and wide making it easy to work with and comes in a variety of colours and even prints!
On my pouch I added a vinyl pocket on the exterior - you can also use the same method described below with mesh if you prefer.
Are you all cut out and ready to sew? We'll start nice and easy with sewing the mini pin cushion.
Sewing the mini pin cushion:
1. Take your two 3" x 3" fabric pieces and pin them wrong sides together. Sew them together with a 1/4" seam allowance all the way around leaving a small opening for turning and stuffing. I like to trim my seam allowance and my corners to 1/8" before turning. I also like to press open the turning opening so it's easier to sew closed when turned right side out.
2. Turn, press, and stuff your pin cushion, you can use whatever you like to stuff it, I used little pieces of fleece interfacing since it was there anyway and it's better than going into the trash I suppose ;) I like to smoosh the stuffing down and use a pin to hold it out of the way so I can sew the opening closed. I then smoosh the filling back around the pin cushion making sure it's distributed evenly.


I like to add a button to the centre to keep things nice and firm. Plus it's cute! Admire the cute, and then set aside for now ;)
Adding elastic loops:
Next up we're going to add the elastic loops inside. Any measurements I use can be customized to your own supplies you'll be using inside the pouch. On one side we're going to have vertical loops and horizontal loops on the other.
For the vertical loops, I used a length of 8"-ish of elastic (don't cut it yet though! As your items may vary we want to be sure you have enough length for everything to fit!).
1. Mark the centres of the top and bottom of one lining fabric, and pin your FOE at 1/8", then again at 3/4" from the top (the 3/4" mark is where I mark all the rest of my measurements from).
2. Then mark your measurements down the elastic as follows 1", 2", 3", 4 1/4". The marks on the lining piece (again from the 3/4" mark) are 1/2", 1", 1 1/2", 2 1/2".

3. While the pins are still in place, check the fit of your items.
4. Sew your marks making sure to backstitch so the loops are nice and secure (I'd also suggest using a thread that matches, I'm using white so it will show in the pics).
5. Lay the excess elastic so that it lines up with the bottom of the lining and pin and trim. Then sew it with a 1/8" seam allowance to keep it from shifting later on. 


For the horizontal loops, I used the 17" piece of FOE as indicated in the pattern. I'm going to do the horizontal loops side according to the pattern, but on the right side only. (I chose the right, no particular reason. Do whichever you prefer.)
6. Use the markings indicated in the pattern then on the left side from the centre, mark 1" on the elastic and 1/2" on the lining. From the previous 1" mark, mark on the FOE 2", 2 1/4",and 2". On the lining from the 1/2" line, mark 1", 2", 1". The 2 1/4" measurement on the FOE is for the pin cushion.
7. Test it out and see how it fits for you. Feel free to adjust as necessary. You will probably have a bit of a FOE tail left. Pin the edge of the elastic to the edge of the lining piece in case there's something you'd like to add later on and it may require a bigger loop. Just remember that it's there when you are top stitching later on in the pattern, you'll want to be sure that it's pulled inside out of the way.


Sewing the exterior vinyl pocket:
1. Trace around the pattern piece then measure 1/2" up from the side corners, and then 2 1/2" up from that mark. Cut out your piece from the vinyl. 
2. To make your binding, iron binding pieces in half with long side raw edges meeting, then fold in half meeting long edges again, hiding the raw edges inside.
3. Clip your binding pieces to the top and bottom edges of the vinyl piece. I like to topstitch the top piece first along both the top and bottom edge of the binding. I then add the binding to the bottom of the vinyl pocket but only sew the open edge. We'll topstitch the bottom edge when attaching to the exterior panel. Again, you'll want to use a matching thread, I'm using white so it will show in the pictures.

4. To attach and topstitch the vinyl pocket to the bottom panel measure 1/2" up from the corner edge, and clip in place at the top and bottom. Do this for both sides.


5. Now you'll topstitch along the bottom edge of the binding.

6. Fold the entire panel in half and topstitch that centre mark from the bottom to the top of the pocket to make 2 slip pockets. 
7. Baste stitch the right and left sides of the pockets with a 1/8" seam allowance to hold them in place.
Now you'll assemble the interior and exterior panels per the pattern directions and voila! You have a sewing kit! 


Thanks for sewing with me! Hope you enjoy your new sewing pouch! If you have any assembly questions feel free to join us in the Blue Calla Facebook Group and ask away!

