
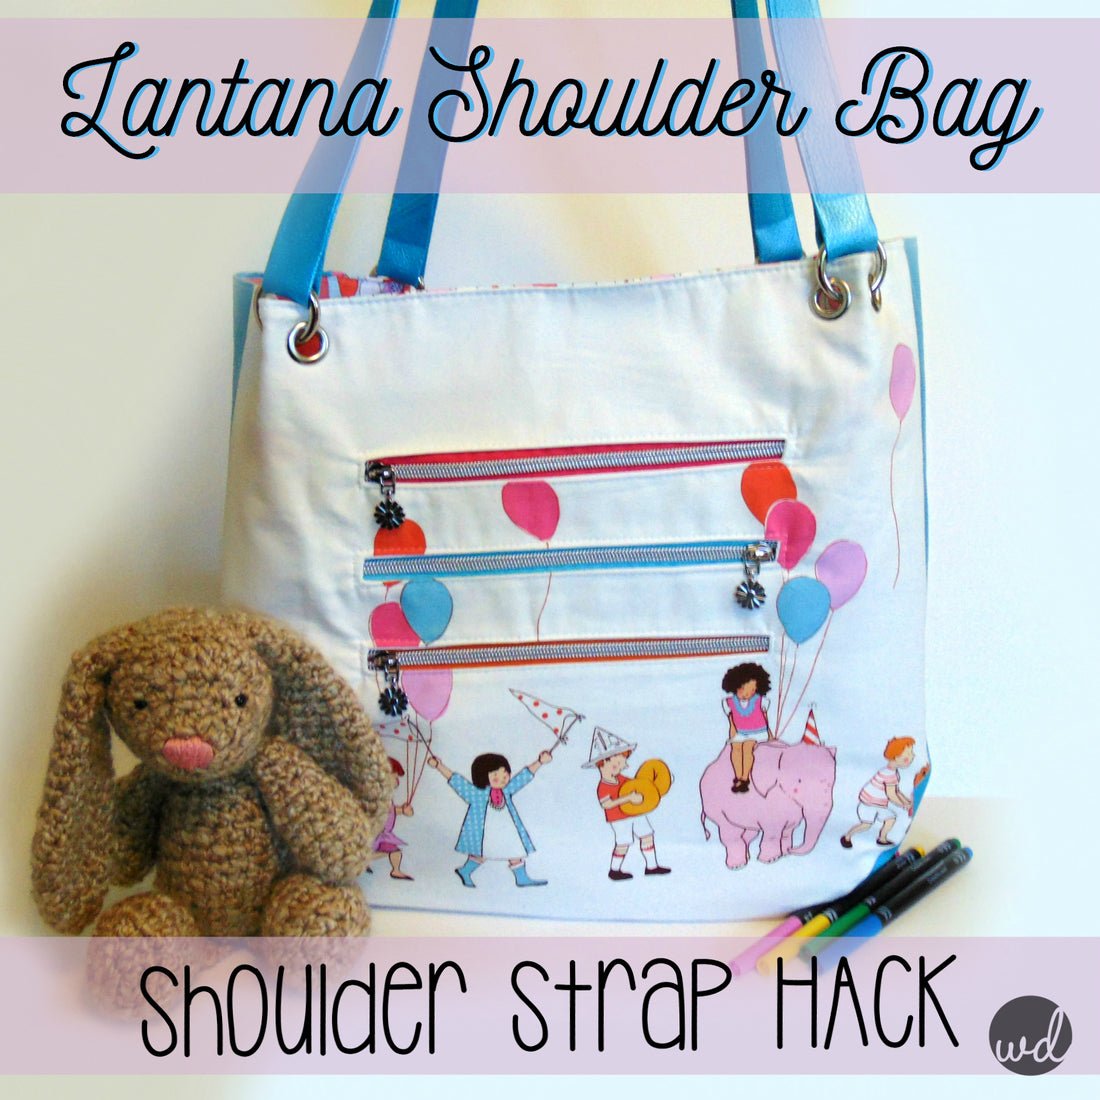
Lantana Shoulder Bag Strap Hack

Hey everyone! It's Wendy from WD Handbags, and I'm here today to show you a hack for the shoulder straps on the Lantana Shoulder Bag.
What's different? Well, instead of using rivets to hold the straps in place we're going to use grommets! Now I know sometimes grommets can be scary, I mean who wants to cut holes in their finished bag? I promise they aren't as scary as they seem and they give a great finished look to the completed bag.
So, what do we need to get started? You'll need everything mentioned in the pattern including 8 Grommets (mine measure 7/16" or 11mm), 4 (1 1/2") Gate Rings, and you'll cut your two shoulder straps pieces at 60" x 2" instead of the measurements given in the pattern-if your fabric isn't long enough for this, that's okay I'll show you how to join two pieces to get the length you need. I also use double sided tape, clips, marking pen, fray check etc but I'm going to go ahead and assume as a bag maker you have those notions in your regularly used supplies.
First things first, you're going to complete your bag per the pattern instructions all the way to Page 11, once you complete your final top edge top stitching, we're going to follow the next step and mark 2" in from the side seam. 
Using that 2" mark as our guide, we're going to mark 3/4" to the right and left of that mark, then 3/4" down at each of those respective marks.
Lay your grommet over the 3/4" mark while centering the inside circle Trace the inside circle one of your grommets, that's centred over the bottom 3/4" mark. These are the holes we will be cutting later. **Be Precise! You want to be absolutely sure that you're centred and everything lines up now, as it'll be a jerk to try and fix while you're cutting holes in your finished bag!** 
Once everything looks even and centred when flat, fold your bag and clip the top edge to get an idea that everything lines up when together and looks how you'd like it to.

You're going to repeat this for all 4 "corners" of the front and back panels. Once you're satisfied everything is how you want it to look, start cutting out the holes.
*TIP:* I like to use sewing pins on the top and bottom of my hole marks to make sure none of the fabrics shift on me while cutting.
I use really sharp pointy scissors to cut my holes out, if you have a press or a cutter set, by all means, use those! 
I like to do a test fit and make sure things fit right, I want my grommets to be a snug fit so when I cut the holes, I cut just inside the lines. Below is a picture of the exterior back panel of my Lantana, and you can see in the next image the interior and the fit around the grommet post.

Once you have cut all 8 circles from your bag, you'll want to use some fray check on all the holes for a little bit of insurance.
Next you'll install your grommets, I use a hammer and a grommet setter to set mine, if you have a press and the correct die, by all means use that! Either method works and is straight forward. I unfortunately don't have a picture of the installation because, well I didn't have enough hands for hammers, setting tools, and cameras ;) Just follow the install directions on the grommet package, and you'll be good to go! (Pic below is the inside view of the installed grommets)
Now set your bag aside and we're going to tackle the straps. My faux leather wasn't long enough for the full 60" length so I attached them on the bias to help reduce bulk when sewing them together later.
Place your two ends right sides together at a 90° angle. You'll stitch from corner to corner (where the diagonal line is marked).
Then you'll fold open the triangles, top stitch along each side of the seam at 1/8", then trim the back triangles, roughly 1/4". I find it easier to trim them after top stitching as it's easier to hold the larger pieces open for top stitching. You do what suits you best ;).


Next I use double sided tape and run it down the centre line of the strap piece. I leave roughly 1" to 1 1/2" at either end with no tape, that way it won't be in the way when we join the ends later on.
Slide your gate rings on the strap piece, and then making sure your strap piece isn't twisted, and join together at the angle like we did in the previous step.
Once your strap piece is one continuous ring, start peeling back the tape, and fold in the raw edges of your strap piece to the centre. I use clips to hold the angled join seams as they're a little thicker and like to unstick themselves.
Now that you have a solid ring of strap, you're going to push one gate ring to one end and another to the opposite end. I like to use clips to hold them in place. 

You'll now sew a rectangle all the way around the strap, I sew 1/8" from the edges and as close as I can get to the rings making sure I keep my needle in the down position when turning the strap.
Of course, you'll repeat with the second strap.
We're almost done! We'll now insert the gate rings into the grommets you installed on your bag. I'm sure there are multiple ways to do this but I installed mine from the back so the screws show to the interior of the bag, instead of the exterior. You go ahead and do whatever works best for you. Lather, rinse, and repeat three more times to finish your bag.

There you go, 8 grommets, 4 gate rings, and 2 straps later, you have a modified Lantana Shoulder bag! Come over to the Blue Calla group on Facebook and show off your makes! 


Thanks for joining me!
-Wendy xo