How to Add Pre-Made Leather Handles to the Aster Handbag & Boronia Bowler (Or Any Bag Pattern!)
Share
Hello everyone! My name is Jessica and I’m the owner of Sallie Tomato. Do you have a difficult time making strap connectors and handles for your bags? I want to share with you an alternative way for making strap connectors and handles by using Pre-made Leather Handles.
Pre-made leather handles add a professional look to your bag, without the hassle of making them yourself. They can easily be substituted into almost any bag pattern! Included in this blog post, is a free PDF instruction sheet for altering patterns to use pre-made leather handles.
Download the PDF Instruction Sheet Here!
Now, let’s dive into the tutorial!
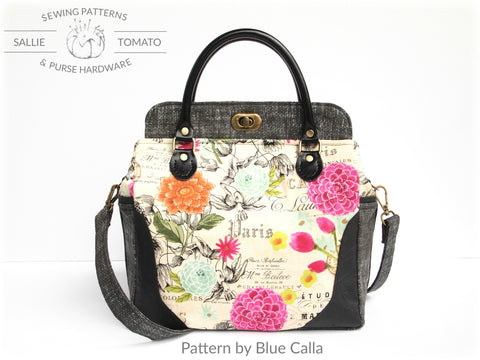
I’ve included step-by-step instructions for adding pre-made leather handles specifically for the Aster Handbag and Boronia Bowler by Blue Calla Patterns. These are such wonderful patterns, and the leather handles are a gorgeous addition to these bags! Celine’s detailed instructions make it easy to substitute alternate handles and hardware when making your bag!

Supplies Needed in Addition to Pattern:
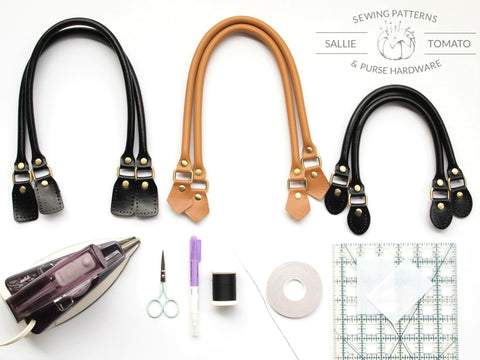
- (1) Set of Leather Handles: I have two sizes shown below: 23.5” long with 7” drop OR 17” long with 4.5” drop. (The drop is the measurement between the highest point of the strap, to the top of the connector). For handbags, I recommend the 17” handles. For shoulder bags, I recommend the 23.5” handles. Also shown are the three different shapes of strap connectors: squared, diamond, or oval. Each style is available in black, navy, red, or tan.
- Iron
- Scissors
- Removable Marking Utensil
- Hand Sewing Needle
- Thread: I would recommend 100% Polyester thread due to its strength versus 100% Cotton thread. Pass two strands of thread through the eye of the needle, for a total of four layers. Another option would be Waxed thread, which is strong, long-lasting, and has less elasticity than polyester or cotton. Pass one strand of thread through the eye of the needle, for a total of two layers.
- Permanent Double-Sided Adhesive Tape
- Ruler
- (4) 2” wide by 3” high pieces of Pellon 809 (Decor Bond) or Heavy Nonwoven Interfacing
Step 1
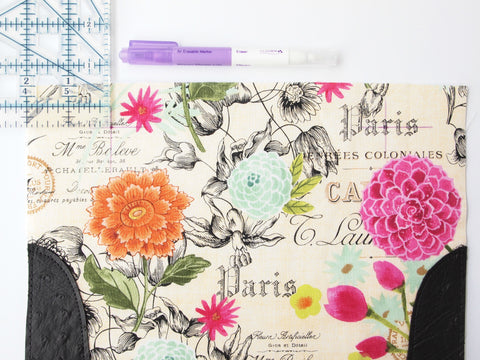
Aster Handbag: Cut out pieces and add interfacing according to the pattern - do not cut shoulder straps or connector options. Complete the steps for the exterior assembly. Skip the vinyl connector option and long john connector option. On each exterior piece, measure and mark 1” from the top edge, and 2” in from each side. This will be the placement for the top, outer edge of your leather connectors.
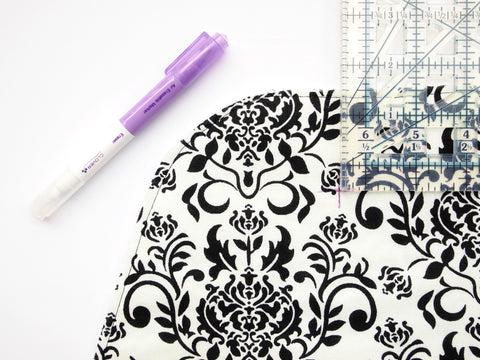
Boronia Bowler: Cut out pieces and add interfacing according to the pattern - do not cut shoulder straps or connectors. Complete all of the steps for the exterior assembly, except the sections on adding the straps. After your exterior is completed, on each section of the exterior piece (BODY A), measure and mark 2” from the top edge, and 2 1/2” from each side of the center. This will be the placement for the top, inner edge of your leather connectors.
Step 2
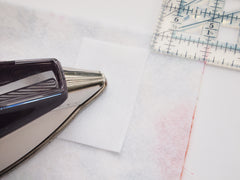
Aster Handbag (left image): On the wrong side of each exterior piece, fuse a piece of interfacing 1/2” from the top edge, and 1 1/2” in from each side. This will help add stability to the connectors of your leather handles and prevent stretching of your fabric.
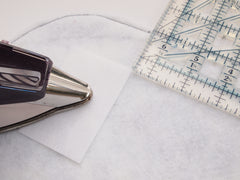
Boronia Bowler (right image): On the wrong side of each exterior piece, fuse a piece of interfacing 1 1/2” from the top edge, and 2” in from each side of the center. This will help add stability to the connectors of your leather handles and prevent stretching of your fabric.
Step 3
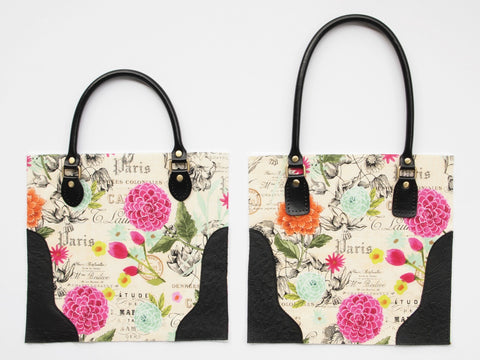
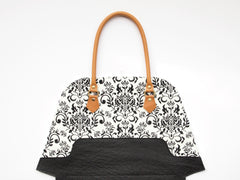
Select your desired handle length. For each bag, I have the 17” handles shown on the left, and the 23.5” handles shown on the right. Again, for handbags, I recommend the 17” handles. For shoulder bags, I recommend the 23.5” handles.

Step 4
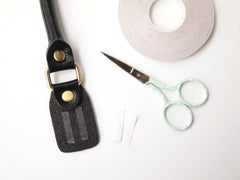
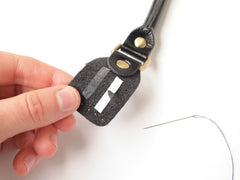
Add a small strip, or two, of the permanent double-sided adhesive tape to the back of each connector. Do not tape over the holes on each connector. Peel paper backing off of tape to prepare for positioning onto bag. If you are having a difficult time getting the paper backing off of the tape, score the paper backing with a pin and bend the connector to peel paper off.
Step 5
Position each leather handle connector according to the placement marks.
Aster Handbag: Place the top, outer edge of each leather connector at the placement mark.
Boronia Bowler: Place the top, inner edge of each leather connector at the placement mark.
Step 6
Remember, as stated above, if using polyester thread, pass two strands of thread through the eye of the needle, for a total of four layers. (Please Note! My picture is wrong! I only passed one strand through the needle. You can do this as well, but you will need to double stitch each hole!)
If using waxed thread, pass one strand of thread through the eye of the needle, for a total of two layers.
Start by inserting your needle, from the wrong side, through the second hole. Then, insert your needle, from the right side, through the first hole.
Continue by inserting your needle, from the wrong side, through the third hole. Then, insert your needle, from the right side, through the second hole.
Repeat this same sewing manor, by inserting your needle ahead, to complete sewing around each connector. Make sure stitches are tight, and knot threads on back when finished.

Step 7
After attaching both handles, continue with the rest of your pattern. Fold handles down, out of the way, when necessary.
Don't Forget to Download the PDF Instruction Sheet Here!
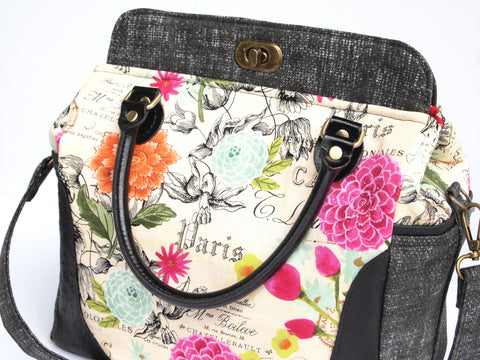
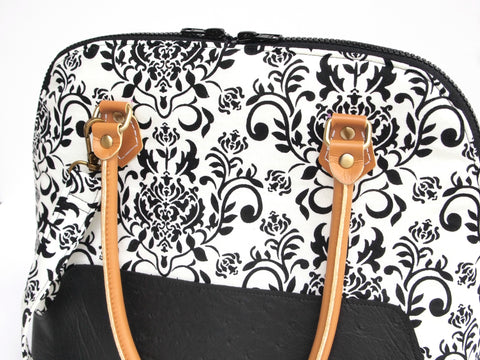
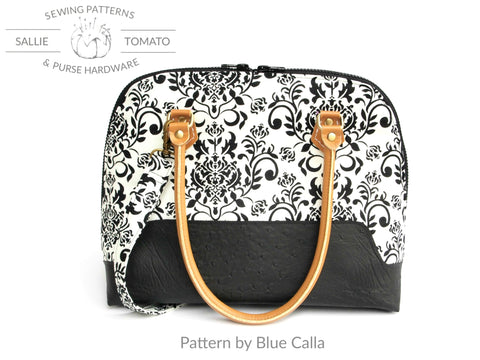
I hope you enjoyed this tutorial! :) See my finished bags below!
You can purchase Blue Calla Patterns here!
You can purchase Leather Handles here!
You can purchase Hardware Kits for the Aster and Boronia here!
