
Dahlia Sew-Along Day 3: Strap and Exterior Assembly

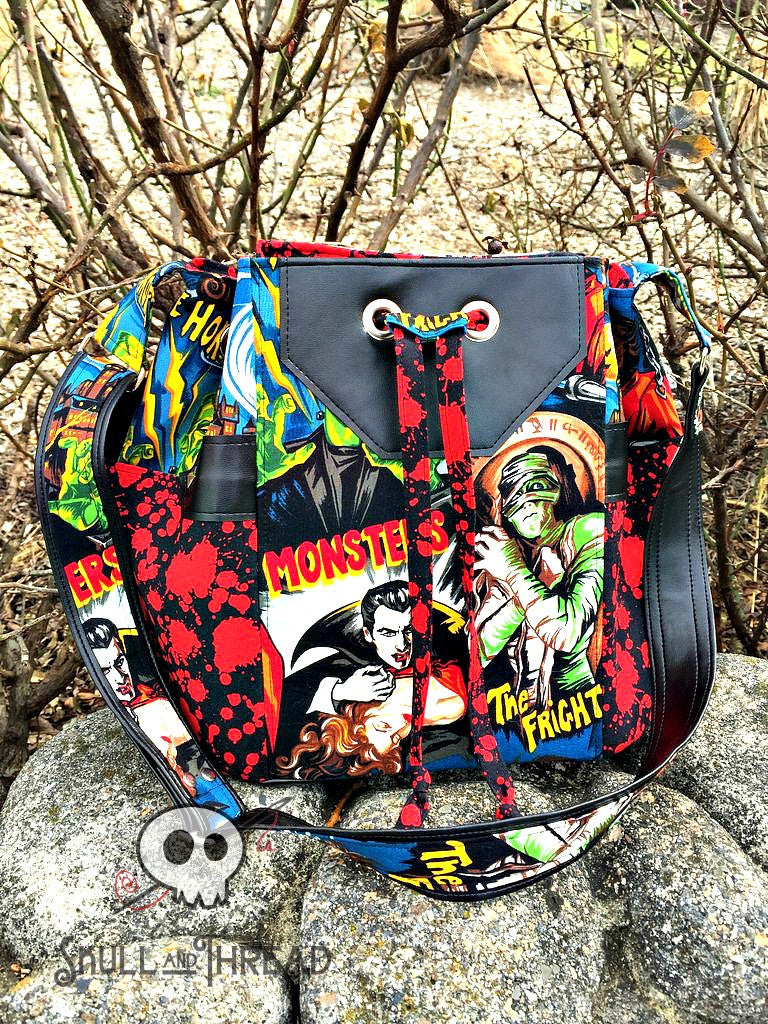
Hi, it's Crystal from the Cloth Albatross. I thought that you all might be tired of seeing the same Dahlia Bucket Bag, so I stole one of the pattern tester's photos for the top of this post.
Today is Day 3 of the Dahlia Bucket Bag sew-along (SAL). If you missed the first 2 days and the prize announcement and first 2 days, you can find them here:
If you haven't started yet, there's still plenty of time to join. The last day to enter pictures of your bag is July 12th but the SAL will remain on the Blue Calla blog. If you still need to purchase the pattern, you can purchase it here with 40% off for the remainder of the SAL with code DAHLIASAL.
Now that you've cut all of your pieces and have the interfacing fused, the fun begins - you can start sewing and see your bag start to come together.
Adding Studs (optional)
After you've attached your slip pockets and side overlays to your side panels, if you would like to add studs for added flare to your bag, do so now. I like to place my studs in the center right after the 'arrow' portion of the overlay ends. Measure your placement and mark it with a pen. I don't have a press for my studs, so I push them in as far as I can with my hand so that they leave an indentation. Then I take the stud off and use my seam ripper to cut slits where the indentations are left. After the slits are cut, I push the studs through and then use a flat head screwdriver to spread the prongs outward from the backside of my panel.
After the prongs are spread, I fuse scraps of interfacing over top of them. This is not necessary but it keeps any sharp edges from rubbing against your lining. Make sure that your iron is not too hot so that you don't melt the vinyl on the front. You could also use Duct tape to put over the prongs, but I don't have any and I think it smells bad.

Repeat stud installation for other side panel.

Straps
I love the way the straps for this bag are constructed. It makes it possible to have an adjustable vinyl strap or just have a woven strap with a contrast. Vinyl straps look nice but they're too thick to pull through a slider bar, but with piecing a strip of vinyl and a strip of fabric, you get a thinner strap with a vinyl exterior that makes it possible to have a vinyl look strap. It can be a bit fiddly to get the vinyl to behave with the fabric but it's worth the trouble for an awesome strap.
I made an all fabric strap for my bag but I used the same method as Celine gave for the pattern. I like to piece my straps to bring different elements from the bag into the strap but this method makes it look less patchwork (which I know isn't everyone's style) and more of just a contrasting element. You can see that I couldn't resist doing a bit of patchwork on my strap even with the contrasting side. Since I was doing all woven, I waited to fuse my interfacing.

Day 4 of the SAL will be on Monday the 20th and we will be constructing our interiors. I hope to see you then! Please let me know if you have any questions so far. And please share your progress pics in the Blue Calla Facebook group or on Instagram with the hashtag #dahliasal.