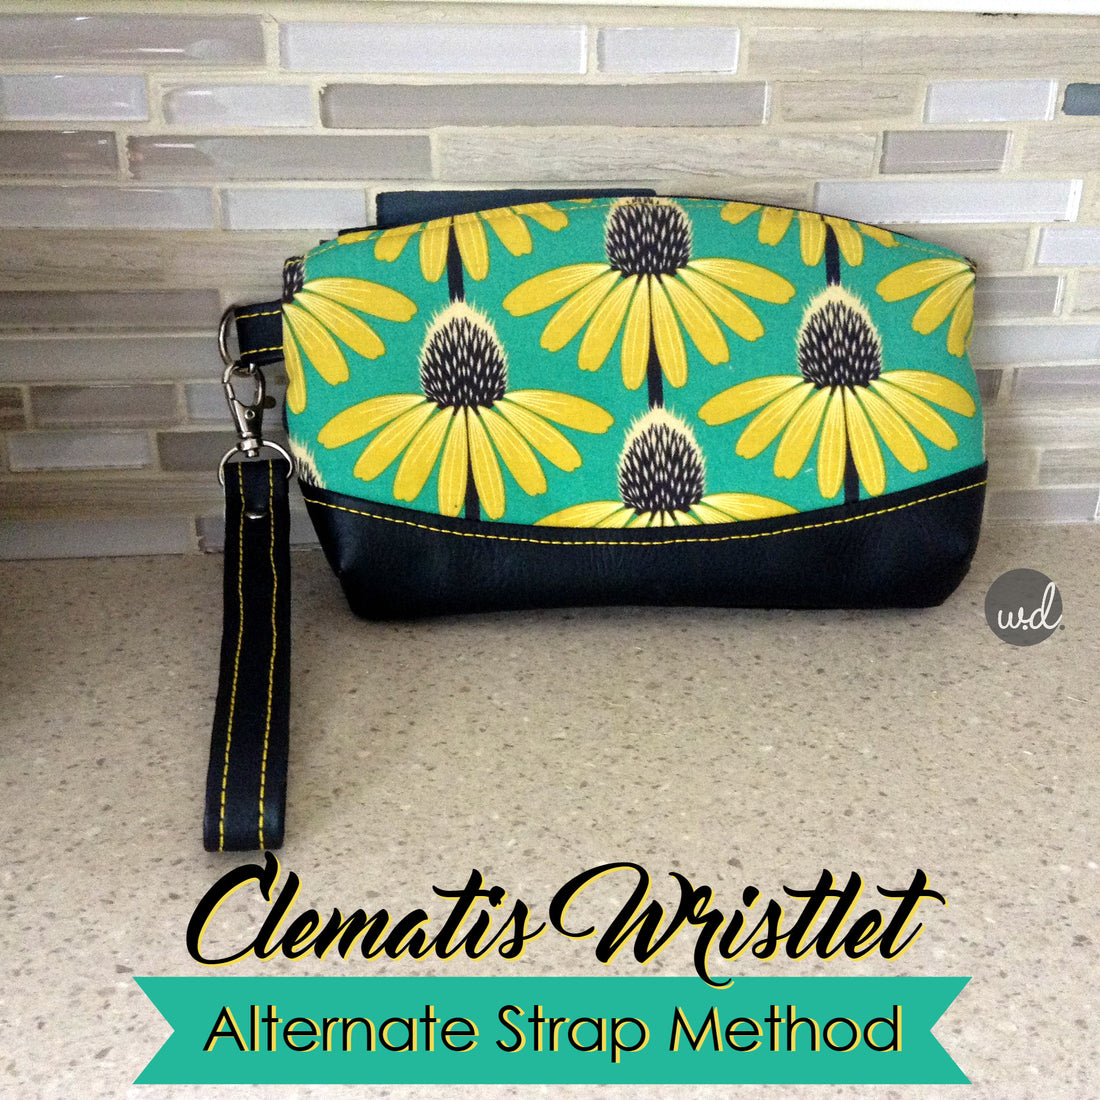
Alternate Method for Making the Clematis Wristlet Strap
Share

Hey everyone! I'm here to share a quick tutorial with you today for an alternate method of making the strap for the Clematis Wristlet strap. It's thinner so it should be easier to sew if you have issues with multiple layers of vinyl with your machine.
First off, you'll notice my fabric and vinyl pieces aren't as wide as stated in the pattern. I wasn't able to get hardware in the 5/8" & 1" specified in the pattern so I had to adjust the width to fit a 3/4" d-ring and clasp.
Secondly, with this method we're going to cut a piece of vinyl, and a piece of interfaced fabric (interface your fabric with your favourite woven interfacing, I used SF101).
I cut my vinyl at 15" long and 1 1/2" wide (3/4" multiplied by 2), my fabric I cut at 15" long but 1" wide.

Ready? Okay! First, we're going to sew together the short ends of the fabric and the vinyl (right sides together).

Now you're going to fold your vinyl piece in half, and bring the raw edges together to meet in the middle. You can hold this in place with double sided tape or clips. Do the same with your fabric piece. Next, slide your swivel clasp on to your strap piece. As per the instructions for the wristlet, unfold your ends a bit so they can be sewn right sides together. Your fabric and vinyl pieces should form a ring. Clip around the edges making sure your fabric bit is centred on the vinyl.

We're going to now sew all around the ring - I like to start at the seam - with a 1/8" seam allowance. You can slide the clasp out of the way as you sew, just make sure you have your needle in the down position as you do.

After top stitching around the ring, you'll want to stitch an X for reinforcement at the end or you can rivet if you prefer. I somehow just broke my last heavy needle, so I went with a rivet.

Complete your Clematis Wristlet per the pattern instructions and you're good to go!


2 comments
Liked your comments, what size grommets did u use. I have size 9 and they don’t work.
Thanks,
Jackie
As always a brilliant tutorial, thank you so much. I will have a go at doing it like this with my next Clematis. I’ve made half a dozen now and really enjoy them.