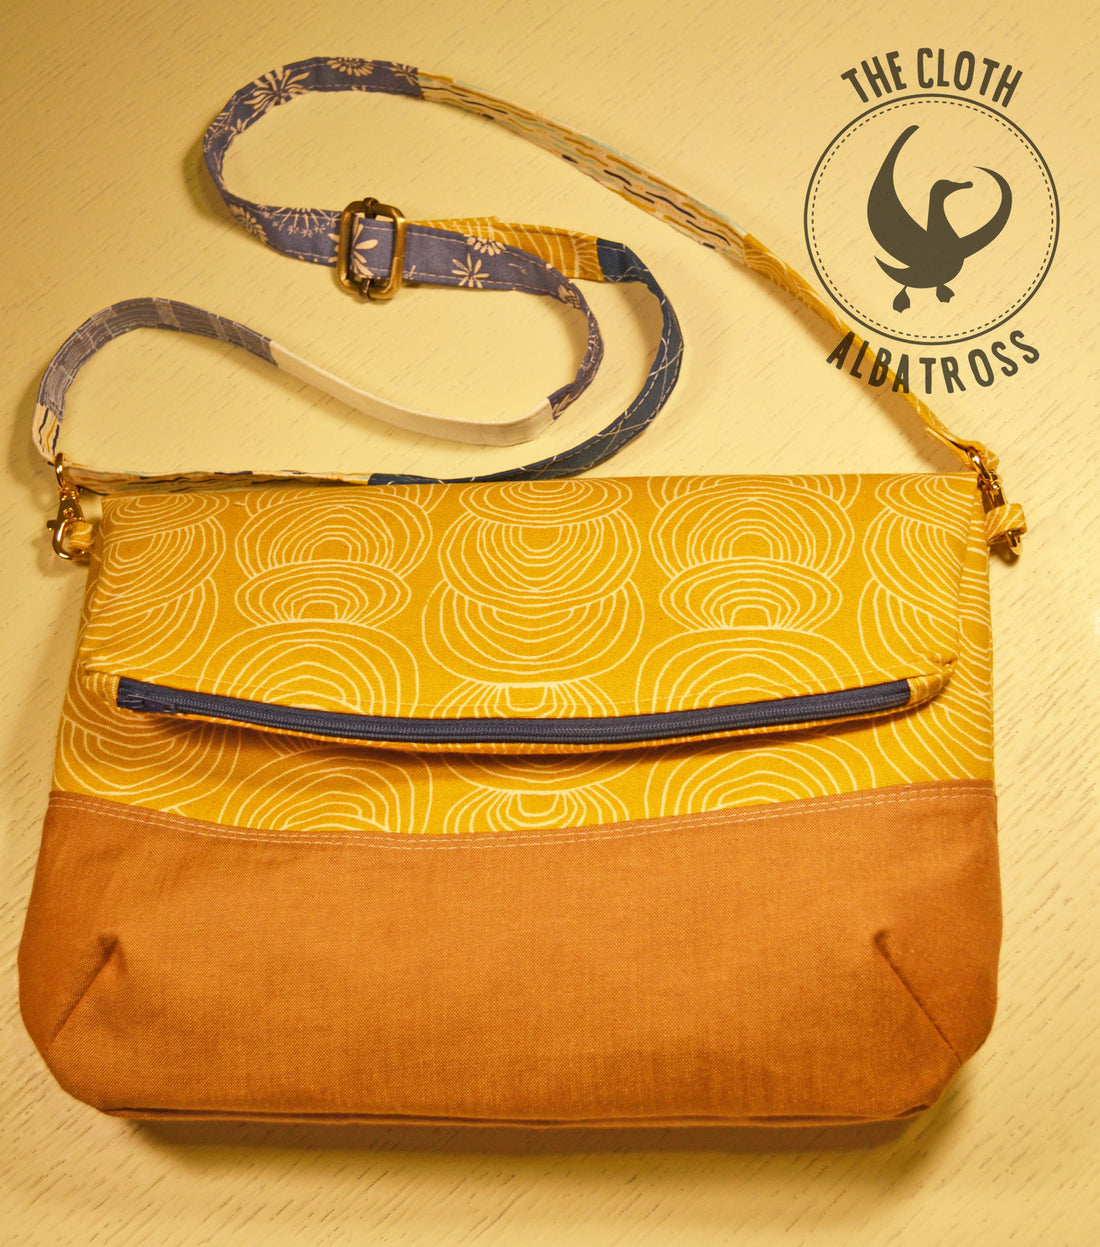
Tutorial: Freesia Foldover Bag Pattern Hack
Share

I made the Freesia Foldover Bag with an exterior slip pocket. I like that this pocket adds extra functionality to the bag, as I never carry my foldover style bags unfolded, so it's nice to have the fold act as a flap for a pocket. I also love having a slip pocket to tuck my phone into on the exterior of my bags.


To make the Freesia Foldover with an exterior slip pocket, you'll need to begin by printing an extra copy of pages 16 and 17 of the pattern. (If you haven't printed the pattern yet, print 2 copies of pages 16 and 17.) Having an extra copy of exterior piece A will make it so that the pattern piece does not need to be cut on the fold and will allow for easy marking of where to fold the pattern piece to cut your pocket pieces.
Tape all 4 pieces from your 2 copies of pages 16 and 17 together. Your pattern piece should look like the above. Except your printer is probably much better than mine and doesn't look shoddy like the printing job on mine.
Now that your pattern piece Exterior A is taped together, use your ruler to mark a straight line connecting the D-ring locations*. One side of the pattern will have D-ring location written on the backside but you will be able to see it well enough to draw your line. This line will become the fold line for where you will fold the Exterior A piece to cut your cut your pocket pieces. I will now refer to Exterior A folded on the line that you drew as the Pocket Pattern Piece.
*If you don't want to have your D-rings on top of your pocket, mark your pocket line 1" below this line. The picture below shows their location when marking the Pocket Pattern Piece at the D-ring line. I didn't actually use D-rings on my bag because I had dinky swivel clasps and a skinny strap. I rather like the look but I know some people prefer more substantial straps and hardware.

With your Pocket Pattern Piece, cut 1 exterior fabric, 1 lining fabric, and 1 woven interfacing (SF101 or equivalent).
Fuse the SF101 to the exterior fabric.
Use the magnetic snap placement on the pattern piece to mark your snap placement by poking a hole through the snap mark and marking its placement with a pen on the wrong side your exterior fabric pocket piece. If you're installing an invisible magnetic snap, following the instructions on pages 5-6 in the pattern.
For regular magnetic snap installation, fuse a 1.5" square of fleece over the mark.
Mark your prong placement through the washer and use a seam ripper to cut slits through your fabric and interfacing. Dab slits with seam sealant to prevent fraying. Install the female portion of your snap on the pocket.
After your snap is installed, fuse a 2" square of SF101 over the back of your snap.
Place the exterior pocket fabric right side together with the pocket lining fabric. Sew with a 3/8" seam allowance along the top straight edge. Press your seam open.
Place pocket pieces wrong sides together and topstitch along the top straight edge. Then baste the 3 open edges together.
Pin or clip the pocket to the front exterior panel. Baste the pocket to the panel.
These are the only alterations necessary. Your exterior slip pocket is finished. Follow the pattern to finish constructing your Freesia Foldover Bag. You might want to go ahead and install the male portion of magnetic snap on this panel so that you don't forget. I can't wait to see your Freesia Foldover Bag in the Blue Calla Facebook Group.

This tutorial was written by Crystal Chadwick from The Cloth Albatross. You can also find her on Facebook and on Etsy.


