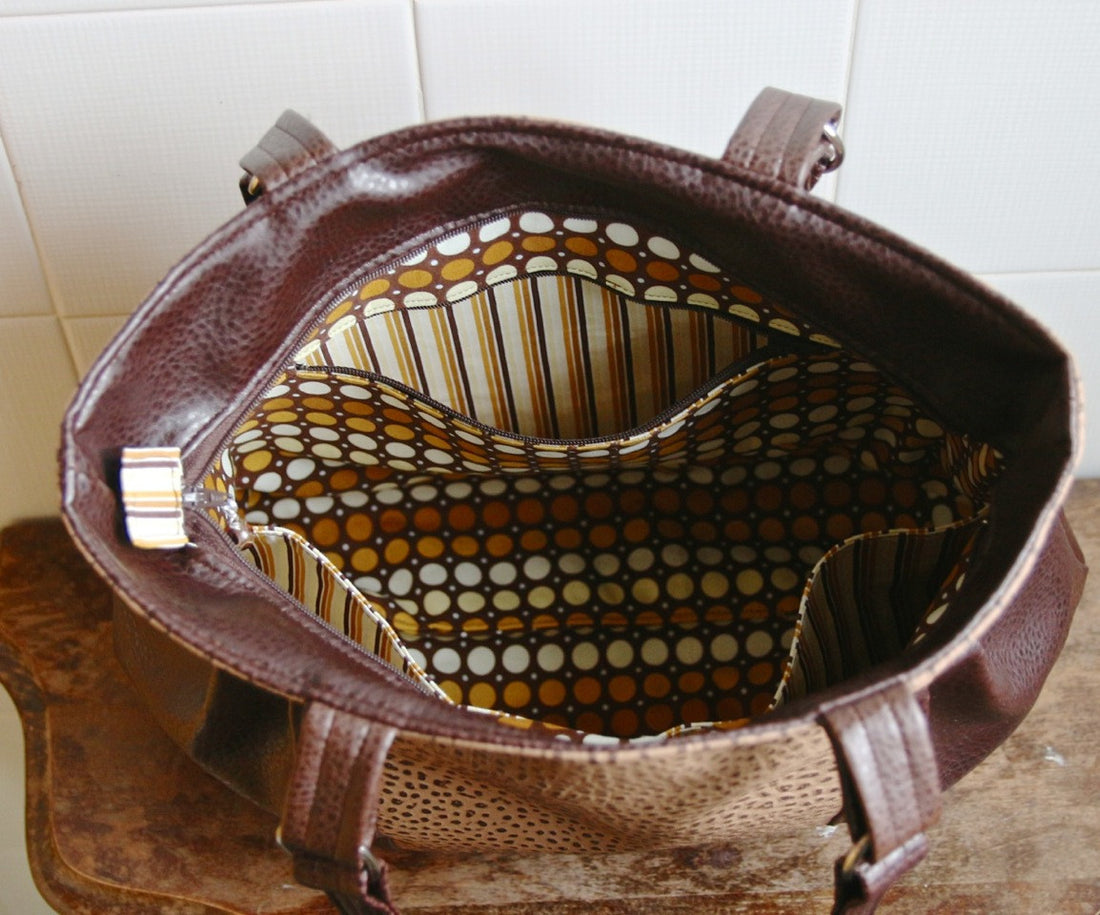
Tutorial: Adding an internal zippered pocket in a bag
Share
Whenever I am writing a new sewing pattern, I always think to myself that a tutorial for repetitive features such as interior zippered pockets would be nice. I did not include zippered pocket instructions for my latest pattern - the Hydrangea hobo bag - within the pattern. Instead I decided that I would write up a blog post on how I make all of my zippered pockets. I will also try to explain how to make the pocket smaller for smaller sized bags.
Assuming you are working on a pattern where the bag is at least 12 inches wide and 9 inches high, this tutorial will work.
What you will need:
(1) 8-inch zipper
(2) pocket lining pieces 10 inches W x 7 inches H
(2) lightweight fusible interfacing pieces 10 inches W x 7 inches H
(1) piece of lightweight fusible interfacing 12 inches W x 4 inches H (to reinforce opening)
Note: if your bag is smaller, you need to reduce the dimensions of all pieces. For example, if your bag's lining is 10 inches W x 8 inches H, than you would cut your pocket lining pieces 8 inches W x 5 inches H. You would then need a 6-inch zipper instead of an 8-inch.
STEP 1:
Fuse matching interfacing pieces to the WS of both of your pocket lining pieces. Fuse the remaining piece of interfacing to the WS of one of your lining panels about 1 inch from the top edge.
STEP 2:
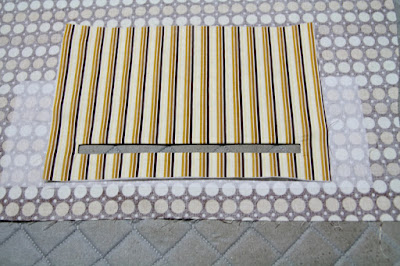
Take one zippered pocket lining pieces and draw a rectangle on the WS that is 8 inches W x 1 cm H. You want this rectangle to be positioned 1 inch from the top and centered so there is 1 inch on either side from the edges.
STEP 3:
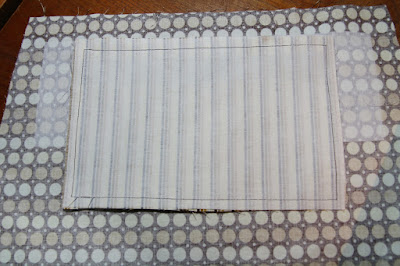
Take the zippered pocket lining piece with the rectangle and pin it on your lining panel (the one with fusible on the WS) about 1.5 inches from the top edge and centered in the middle of your panel. Stitch along the rectangle lines keeping your needle in the down position to make turning corners easier. I like to use a shorter stitch length (2.2 approx.).
STEP 4:
Draw a horizontal line through your rectangle stopping about 1/2 inch from both ends. Then draw diagonal lines from the horizontal line to each corner as shown in red below.
STEP 6:
Pull the pocket lining piece through the opening you just cut out towards the WS of your lining panel. Press the rectangle opening's seam nice and flat to create a nice rectangular opening for your zipper.
STEP 7:
Place your zipper inside the rectangle opening and pin or glue in place (depending on what you prefer). Stitch the zipper in place by sewing around the rectangle opening with a 1/8" seam allowance.
STEP 9:
Stitch all the way around the lining pieces to sew them together and create the pocket.
Assuming you are working on a pattern where the bag is at least 12 inches wide and 9 inches high, this tutorial will work.
What you will need:
(1) 8-inch zipper
(2) pocket lining pieces 10 inches W x 7 inches H
(2) lightweight fusible interfacing pieces 10 inches W x 7 inches H
(1) piece of lightweight fusible interfacing 12 inches W x 4 inches H (to reinforce opening)
Note: if your bag is smaller, you need to reduce the dimensions of all pieces. For example, if your bag's lining is 10 inches W x 8 inches H, than you would cut your pocket lining pieces 8 inches W x 5 inches H. You would then need a 6-inch zipper instead of an 8-inch.
STEP 1:
Fuse matching interfacing pieces to the WS of both of your pocket lining pieces. Fuse the remaining piece of interfacing to the WS of one of your lining panels about 1 inch from the top edge.
STEP 2:
Take one zippered pocket lining pieces and draw a rectangle on the WS that is 8 inches W x 1 cm H. You want this rectangle to be positioned 1 inch from the top and centered so there is 1 inch on either side from the edges.
STEP 3:
Take the zippered pocket lining piece with the rectangle and pin it on your lining panel (the one with fusible on the WS) about 1.5 inches from the top edge and centered in the middle of your panel. Stitch along the rectangle lines keeping your needle in the down position to make turning corners easier. I like to use a shorter stitch length (2.2 approx.).
STEP 4:
Draw a horizontal line through your rectangle stopping about 1/2 inch from both ends. Then draw diagonal lines from the horizontal line to each corner as shown in red below.
STEP 5:
Cut out your lines using scissors being very careful not to cut any of the stitching at the corners.
Pull the pocket lining piece through the opening you just cut out towards the WS of your lining panel. Press the rectangle opening's seam nice and flat to create a nice rectangular opening for your zipper.
STEP 7:
Place your zipper inside the rectangle opening and pin or glue in place (depending on what you prefer). Stitch the zipper in place by sewing around the rectangle opening with a 1/8" seam allowance.
STEP 8:
Take your second pocket lining piece and pin it to the first lining piece RST.
Stitch all the way around the lining pieces to sew them together and create the pocket.
ALL DONE!
Please feel free to leave any questions or comments.


