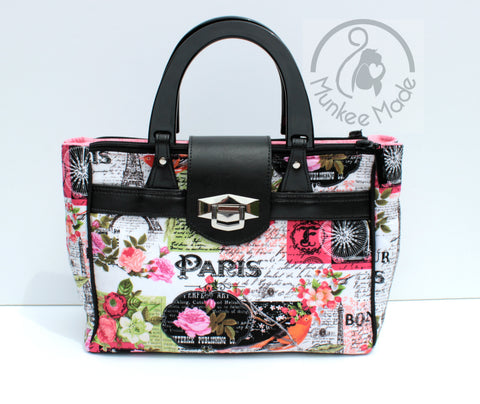
Here's my version:
First things first! Download your flap pattern piece HERE, and print it out to "actual size" or 100%.
Make the flap:
Take two pieces of vinyl that are a bit bigger than the pattern piece and glue them wrong sides together so you have one piece that is double sided:

Take your pattern piece and lay it on top of your double sided piece and trace around it. (I use a chalk pencil for vinyl)


Sew just within your traced lines (1/8 - 1/4") around the inside of your marks.

You should have something that looks like this:

Now carefully trim off the excess vinyl, I use a straight edge ruler and rotary blade for a nice clean cut.

(NOTE if you want to do a flap out of cotton/canvas/any fraying material simple cut two pieces, sew with a 1/4" seam allowance RST and flip I would recommend using woven interfacing on these pieces as well)
Place the flap: (you will do this as you are doing page 5 of the pattern)
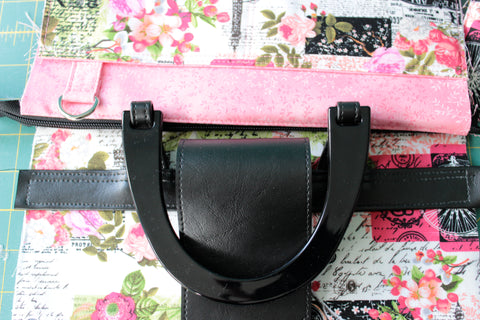
Before you sew your accent strip on the BACK side of your Dandelion, add your flap to the center of the back, the straight, bottom edge of your flap should be 2" from the top of your back piece:

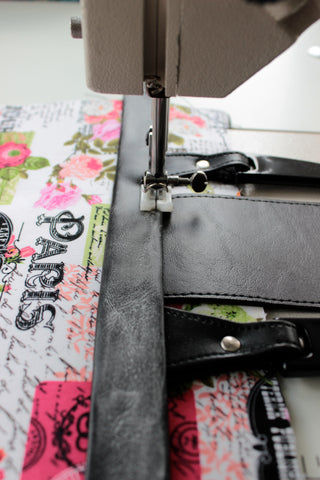
Now place your accent piece OVER the bottom of the flap (note I used resin handles so my strap connector placement differs from the pattern)

Stitch your accent piece down.
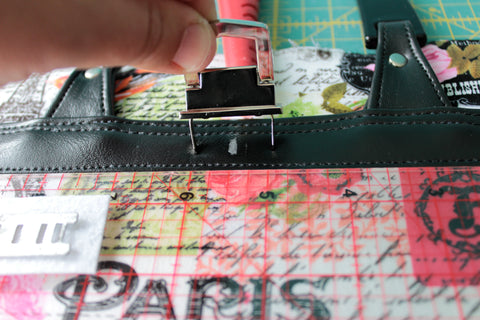
Installing the "flip" of your lock: (you will do this at the end of page 5 of the pattern)
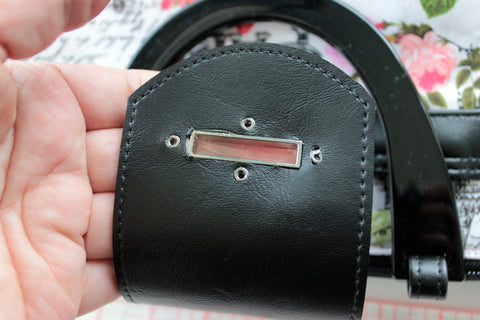
Take your front exterior piece that has the accent strip already in place and sewn. You need to mark the center right in the middle of the accent strip, take your pronged "flip" section of your lock and press it into the accent strip, leaving marks for the prongs:
Carefully use your seam ripper to make holes where the prongs left marks. You want to get through ALL the layers.

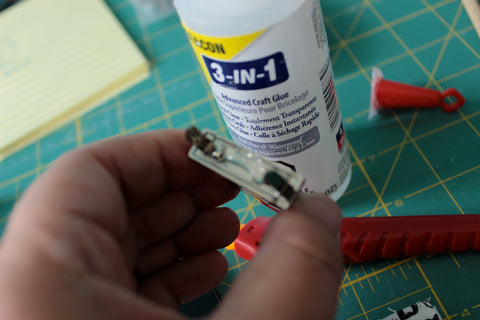
Put a dab of glue (I use Beacon 3 in 1) on the back side of your prongs piece.
Now slide your prongs through the holes through all of the layers I also added a piece of peltex on the back for extra stability.

Place your washer over the prongs and bend your prongs out.
I place a piece of masking tape over the prongs here so they don't rub against the lining alternatively you can fuse a piece of fleece or woven interfacing over them.

Proceed to follow the pattern directions, being careful to hold the flap out of the way when installing the zipper on page 7.
Also, since you are putting a flap with a twist lock on your Dandelion there isn't a need for the internal magnetic snap, you may skip over that step in the pattern!
Finishing your lock:
When your Dandelion is COMPLETELY assembled you will install the rest of your lock!
Clip your bag together closing the interior:

Take you handy chalk and place some on your "flip" piece:

With the bag still securely closed, place your flap over the zips and press it (make sure it is straight) onto the "flip" piece:

You will now have a mark on the backside of your flap:

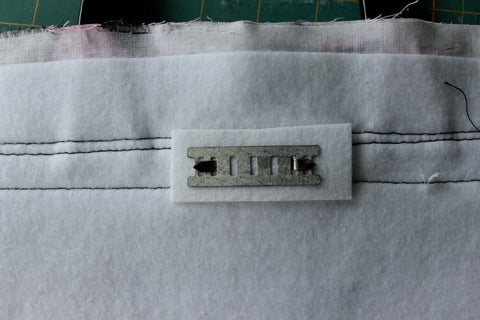
Center your lock frame over this mark:

Colour in the openings, including the screw holes:

Carefully trim away the coloured parts, use a punch for the screw holes if you have one, an awl works as well. Then press the back frame into the holes. This may take a few tries, always start by cutting less rather than more.
Line up your front piece and make sure it is straight:

Spread a thin layer of glue onto your front piece:

Put your front piece in place then flip the flap over and screw it in (I add a tiny spot of glue onto my screws as well).

YOU ARE DONE!!!!

Please show off your gorgeous Dandelions on the Blue Calla Facebook page and on Instagram using the hashtag #DandelionHandbag